Excellent fact, and bonus points because the fact is only recorded in a footnote of a writeup about an already moderately obscure fact.
zipsglacier
joined 2 years ago
Sinister!
This is right, for as long as the fdm printer hobbyists can avoid the lockdown and enshittification that some printer brands are definitely pushing. The value of this paper, for it's authors, seems more like a proof of concept: fingerprinting is possible. And I think that's actually it's same value for hobbyists: the problems with a closed system and proprietary printer firmware are not hypothetical.
The fact that this could only work in 100% locked down ecosystems was my thought too. About cutting the part up, that seems to be what this particular paper is most proud of: they did a bunch of math to make some codes that they could still figure out even when they were cut into pieces and mixed up---like if a person broke their printed part after using it. Sort of like error-correcting codes I guess, but able to be reassembled from fragments.
Here's the paper where they explain it. Basically, they make subtle fluctuations in layer height, adding or subtracting small amounts that are not visible to the naked eye, to encode 0s and 1s. So, maybe in principle this could run at the firmware level on your printer. Then, someone can use a microscope to read off the code from pieces of the printed part.
I would have some doubts about how reliable this is, given the relatively large tolerances in fdm printing, but they have a section about that in the paper, so I guess they at least have thought about it.
Here's the paper where they explain it. Basically, they make subtle fluctuations in layer height, adding or subtracting small amounts that are not visible to the naked eye, to encode 0s and 1s. So, maybe in principle this could run at the firmware level on your printer. Then, someone can use a microscope to read off the code from pieces of the printed part.
I would have some doubts about how reliable this is, given the relatively large tolerances I fdm printing, but they have a section about that in the paper, so I guess they at least have thought about it.
How do I reblog this
Yep. If it's 9:22:45, then rounding to 9:23 is more accurate than 9:22 anyway.
This thread is like the Simpsons gag blowing dust off the book title "How to cook [for(ty)] humans", except everyone's an asshole and I also learned several things. Upvotes all around!!
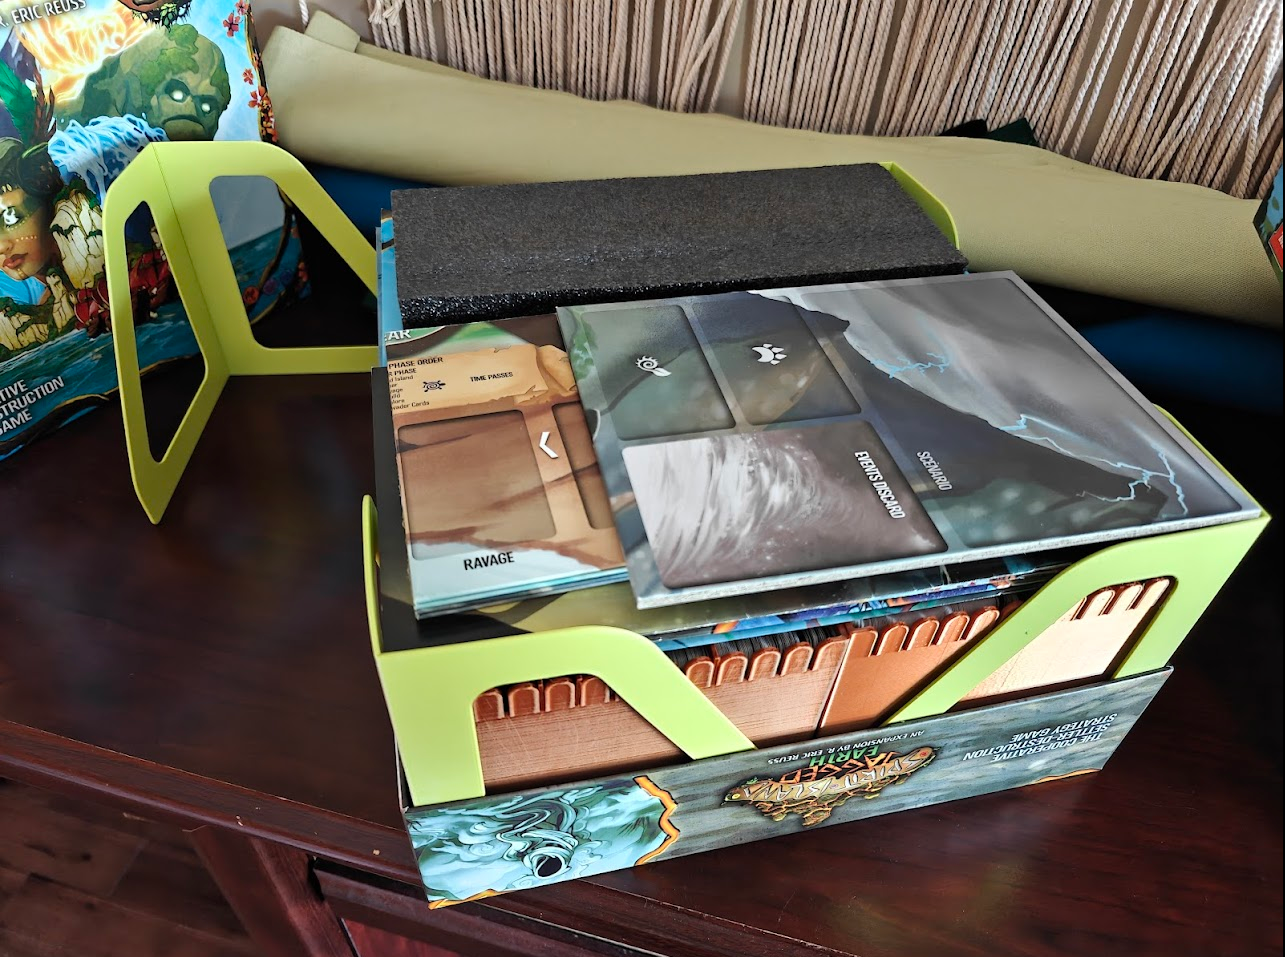
I've been experimenting with foldable 3d prints for tall thin walls in some game organizers. (Bigger pictures below.) The principle here is sort of similar to a living hinge, but not designed to flex too many times. Just fold once and be a reasonably stable structure.
Here are some individual pictures of the designs I've made, for corner support of some game organizers. Below, I have explanation and the design/dimensions that I use.


Overview
I haven't seen this type of design too often before, so I thought I would share what design and dimensions worked for me. Here is an overview:
-
I design what I call the Wall as an outline, with some cutouts to reduce material. This is the part that prints flat and will fold up.
-
I apply a chamfer to all edges, to help with removal from the build plate.
-
I make a Y-Profile for the fold line grooves. The profile is vaguely Y-shaped, with a short rectangular base and an angled top. (Picture below; the Y-profile is labeled "cut out groove" there.)
-
I use the Y-profile to cut away material from the wall to make those grooves.
-
I print these in PLA (the pictures are matte PLA, because that's what I had). I guess PETG might be more sturdy, but honestly the PLA was so good that I haven't bothered with PETG.
Here is a picture, which I'll explain below.

Design Details
The top of this picture is an edge-on view of the wall (green horizontal lines) and the Y-shaped profile (labeled "cut out groove"). I use the following dimensions:
- wall thickness: 1.5mm
- wall chamfer (not pictured): .5mm
- Y-profile base height (a): 0.3mm
- thickness remaining below Y-profile (b): 0.4mm
- angle of Y-profile sides: 40 degrees from horizontal (45 didn't fold as well)
- Y-profile base width: (pi/2) x a x 1.1 (=.52mm with other dimensions above)
That last measurement, the width of the Y-profile base, is what the bottom part of the picture is about. The key idea is that width is going to be, roughly, 1/4 the circumference of a circle with radius a. So, I computed that amount, and multiplied by 1.1 to give 10% extra width.
With these dimensions, the part that folds is 0.4mm thick (dimension b in the pictures), then there is a 0.3mm clearance (dimension a), and the two arms of the "Y" fold together. In my first trials I used 45 degrees for the Y arms, but found that I got a better fold making them a little wider (so, lowering the angle from horizontal, to 40 degrees). This basically gives a little extra tolerance for variations in the physical print.
Conclusion
I hope this helps someone! I think it's a neat technique, and I'm a little surprised that I haven't seen it used anywhere else. I've seen various designs for living hinges, which are roughly the same principle, but designed to flex repeatedly. Searching around, I found one foldable cube on thingiverse. But otherwise I haven't found any models using this kind of design.

The plastic part inside this latch broke, and I wanted to print a replacement. I was genuinely surprised at how straightforward it was!! This is my first draft: it fit and worked fine! I made a second version with a few cutaways around the corners, and that was the final draft. (I forgot to take a picture of that one.)
There are lots of awkward overhangs, and I was having a hard time figuring out how it could be printed (a) in a good orientation for the stresses and (b) without supports. Then I remembered: we can just use supports!! I usually try to design so that they aren't needed, so I almost never use them. But wow they made this easy.

view more: next ›
First time I ever heard the speech was on this amazing album: https://theotolith.bandcamp.com/album/folium-limina