So I'm finally posting a build to contribute to the community...
A while back, I purchased a copper Convoy S2+ along with a copper 18350 tube. I originally built it as-is with the brushed finish and clear coating, but then I decided that I wanted it to patina naturally. The only way to do that properly was to remove the clear protective coating, and a panel of flashlight experts told me that a mirror finish produces the best patina. So I broke the light down, and polished the host. I also took the opportunity to take some pictures of the internals, and provide all of the details here.
Let's start with all the parts:
- copper Convoy S2+
- copper 18350 tube
- 17mm DrJones H17Fx Driver
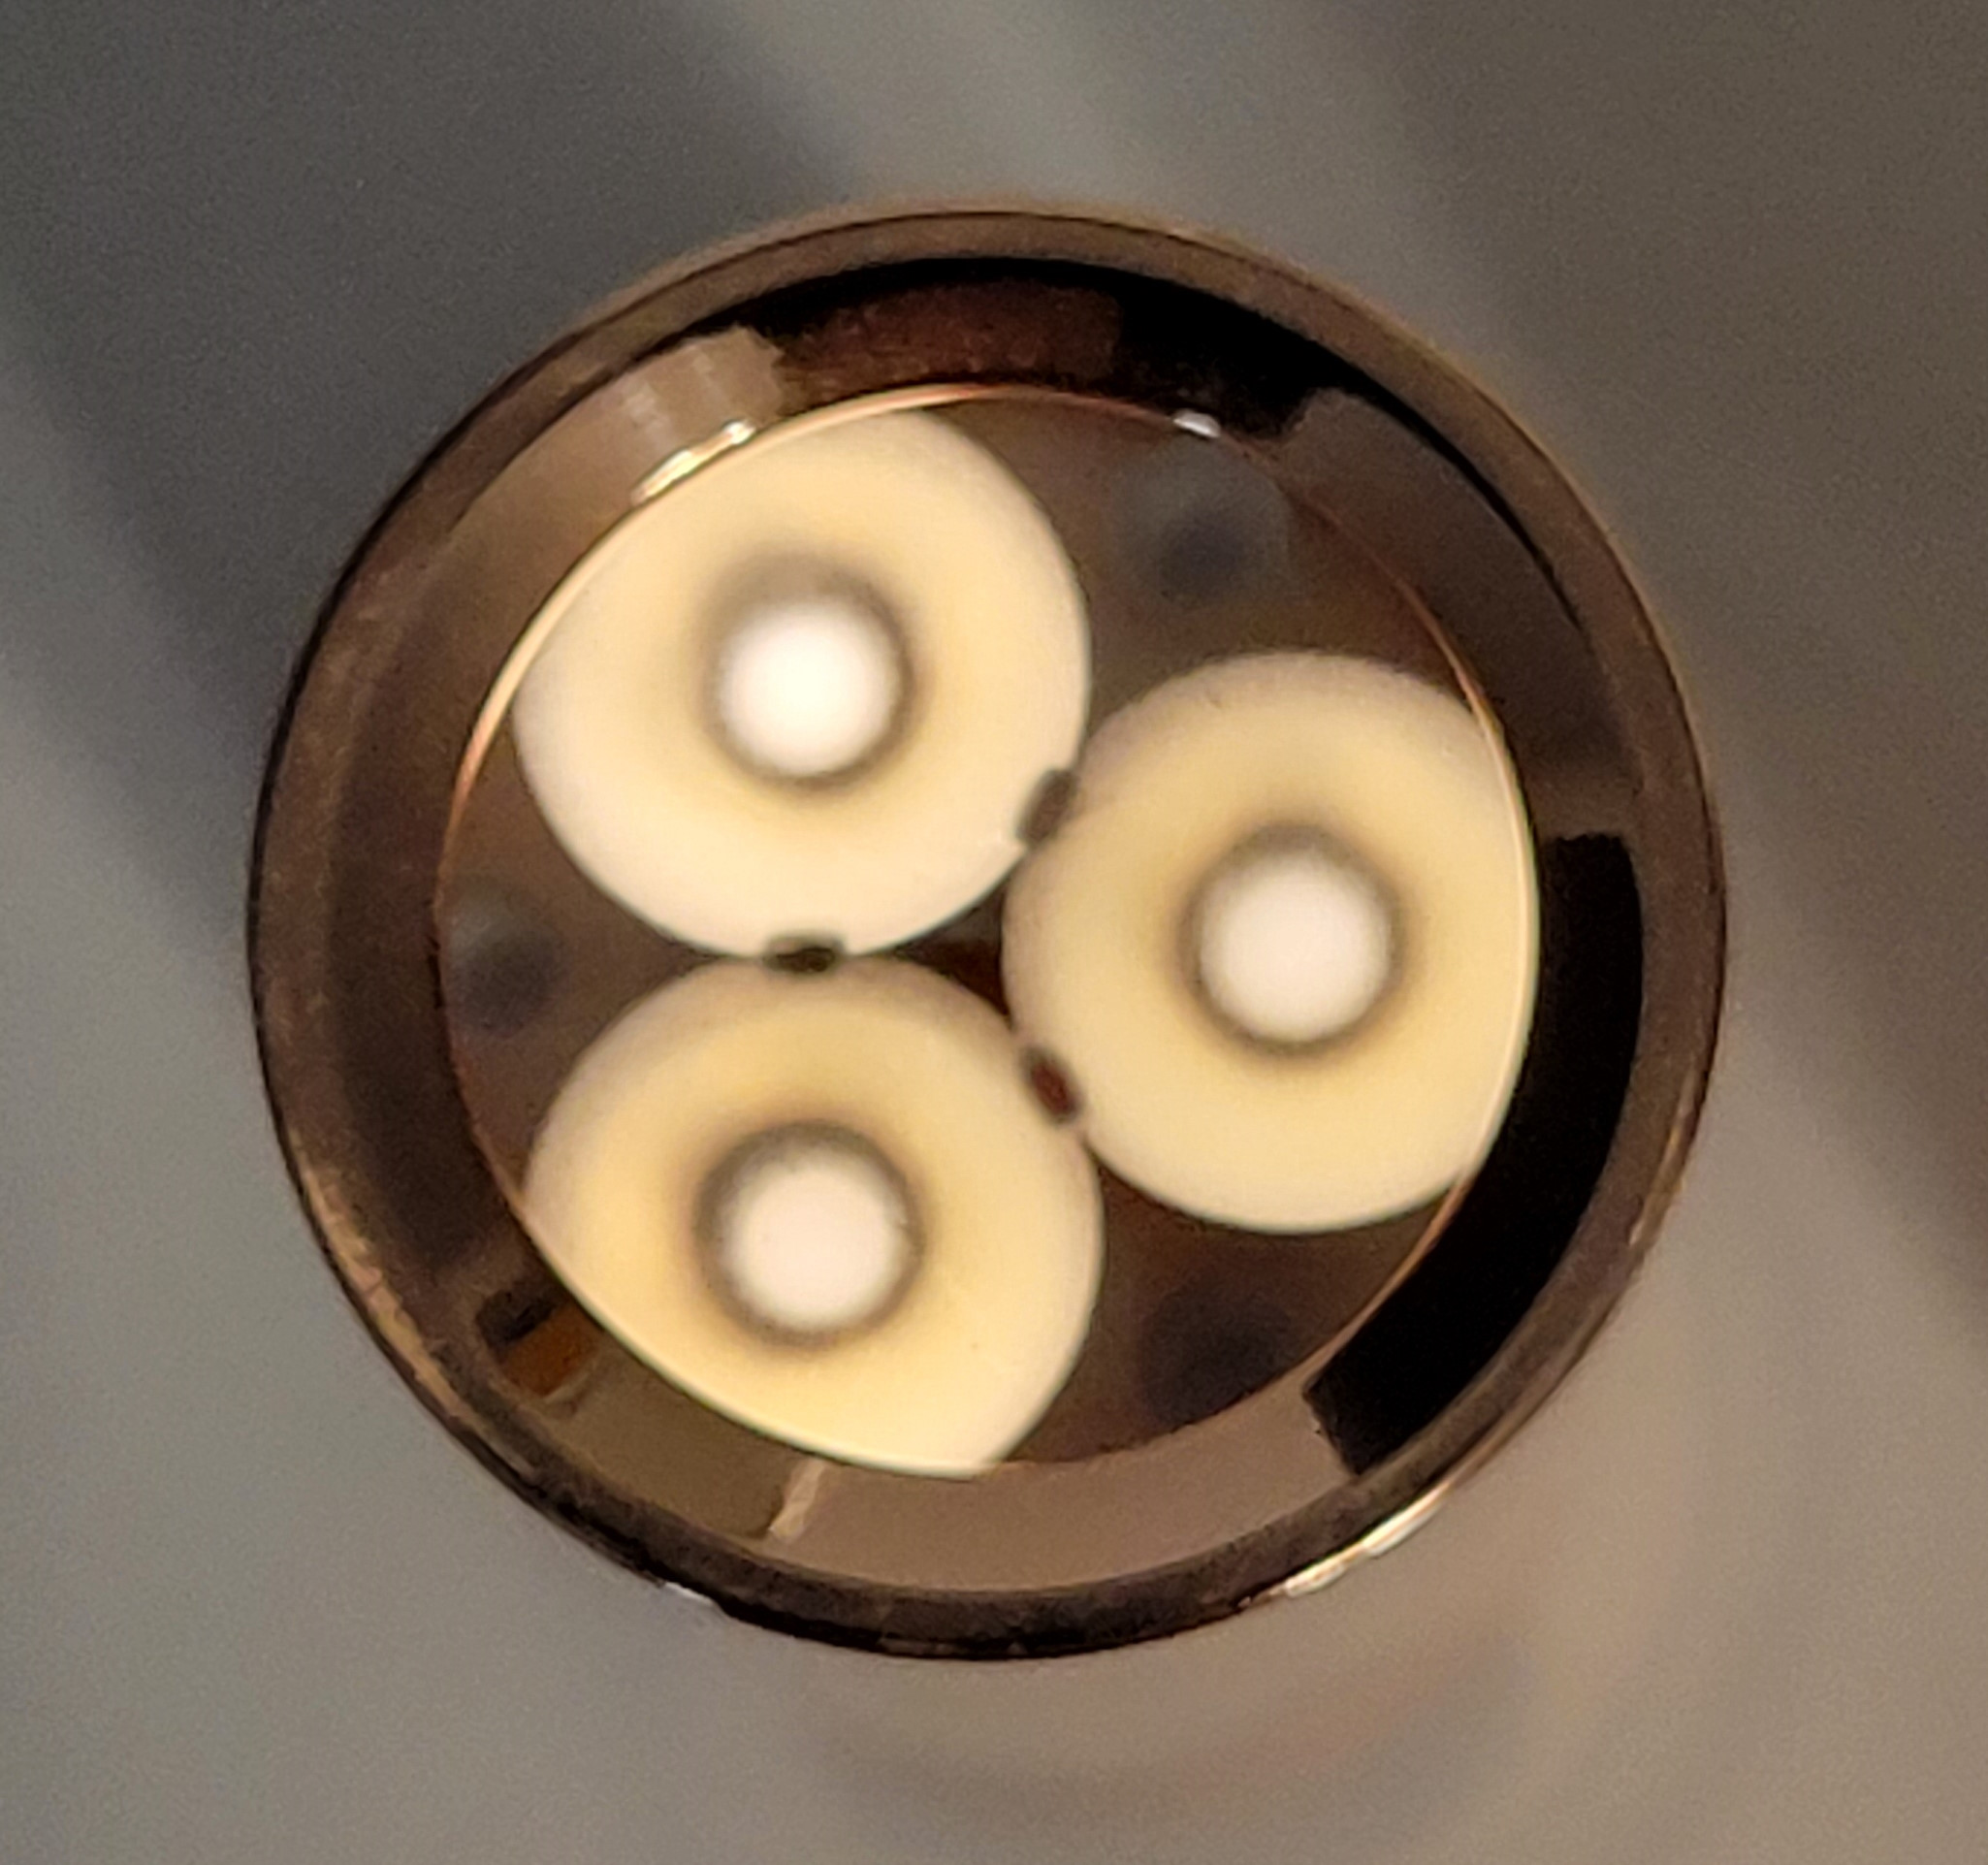
- Carclo 10509 Frosted Wide Optic
- 3 x Nichia 519A sm273 2700K - Link is to Convoy, but I actually got mine from Clemence (Eurekatronix).
- Kiriba-ru S2+ Copper Spacer - He's no longer making parts, but I have some for sale if you need them.
- Kiriba-ru S2+ Thin Retaining Ring for double-sided drivers
- gChart's 16mm LVP CC
Parts for the LVP CC:
- 16mm LVP CC PCB
- onsemi MAX809SQ293D1T1G LVP
- onsemi NCV553SQ30T1G LDO
- Infineon BSS209PW H6327 P-FET
- 0805 475Ohm Resistors - One for the LVP CC and one to serve as a bleeder for the H17Fx.
- Orange 0805 LEDs - You can find them for crazy cheap all over AliExpress.
And materials for the polishing process:
- WEN 4208T 8 Inch 5 Speed Drill Press - In hindsight, I wish I had gotten one with more travel like a 10 or 12 inch, but they are quite a bit more expensive. I also use this drill press to drill holes in pills and spacers.
- EmilyPro Buffing Wheels - These were the first wheels I bought. The included wheels are, from coarsest to finest, treated cotton (yellow), cotton, and flannel.
- Keadic Buffing Wheel Kit - This kit includes four different wheels and three different compounds. The included compounds are, from coarsest to finest, brown tripoli, white diamond, and general green. Be careful when buying polishing compounds because different manufacturers use different colors. The wheels are, from coarsest to finest, denim, treated cotton (yellow), cotton, and flannel.
- Jeweler's Rouge - This is the finest among the polishing compounds I have purchased.
For this particular project, I decided to use three different polishing wheels and compounds, although I probably could have gotten by with two. I opted for the white diamond on treated cotton first, general green on cotton second, and jeweler's rouge on flannel third. Let's look at some pictures to see how it turned out...
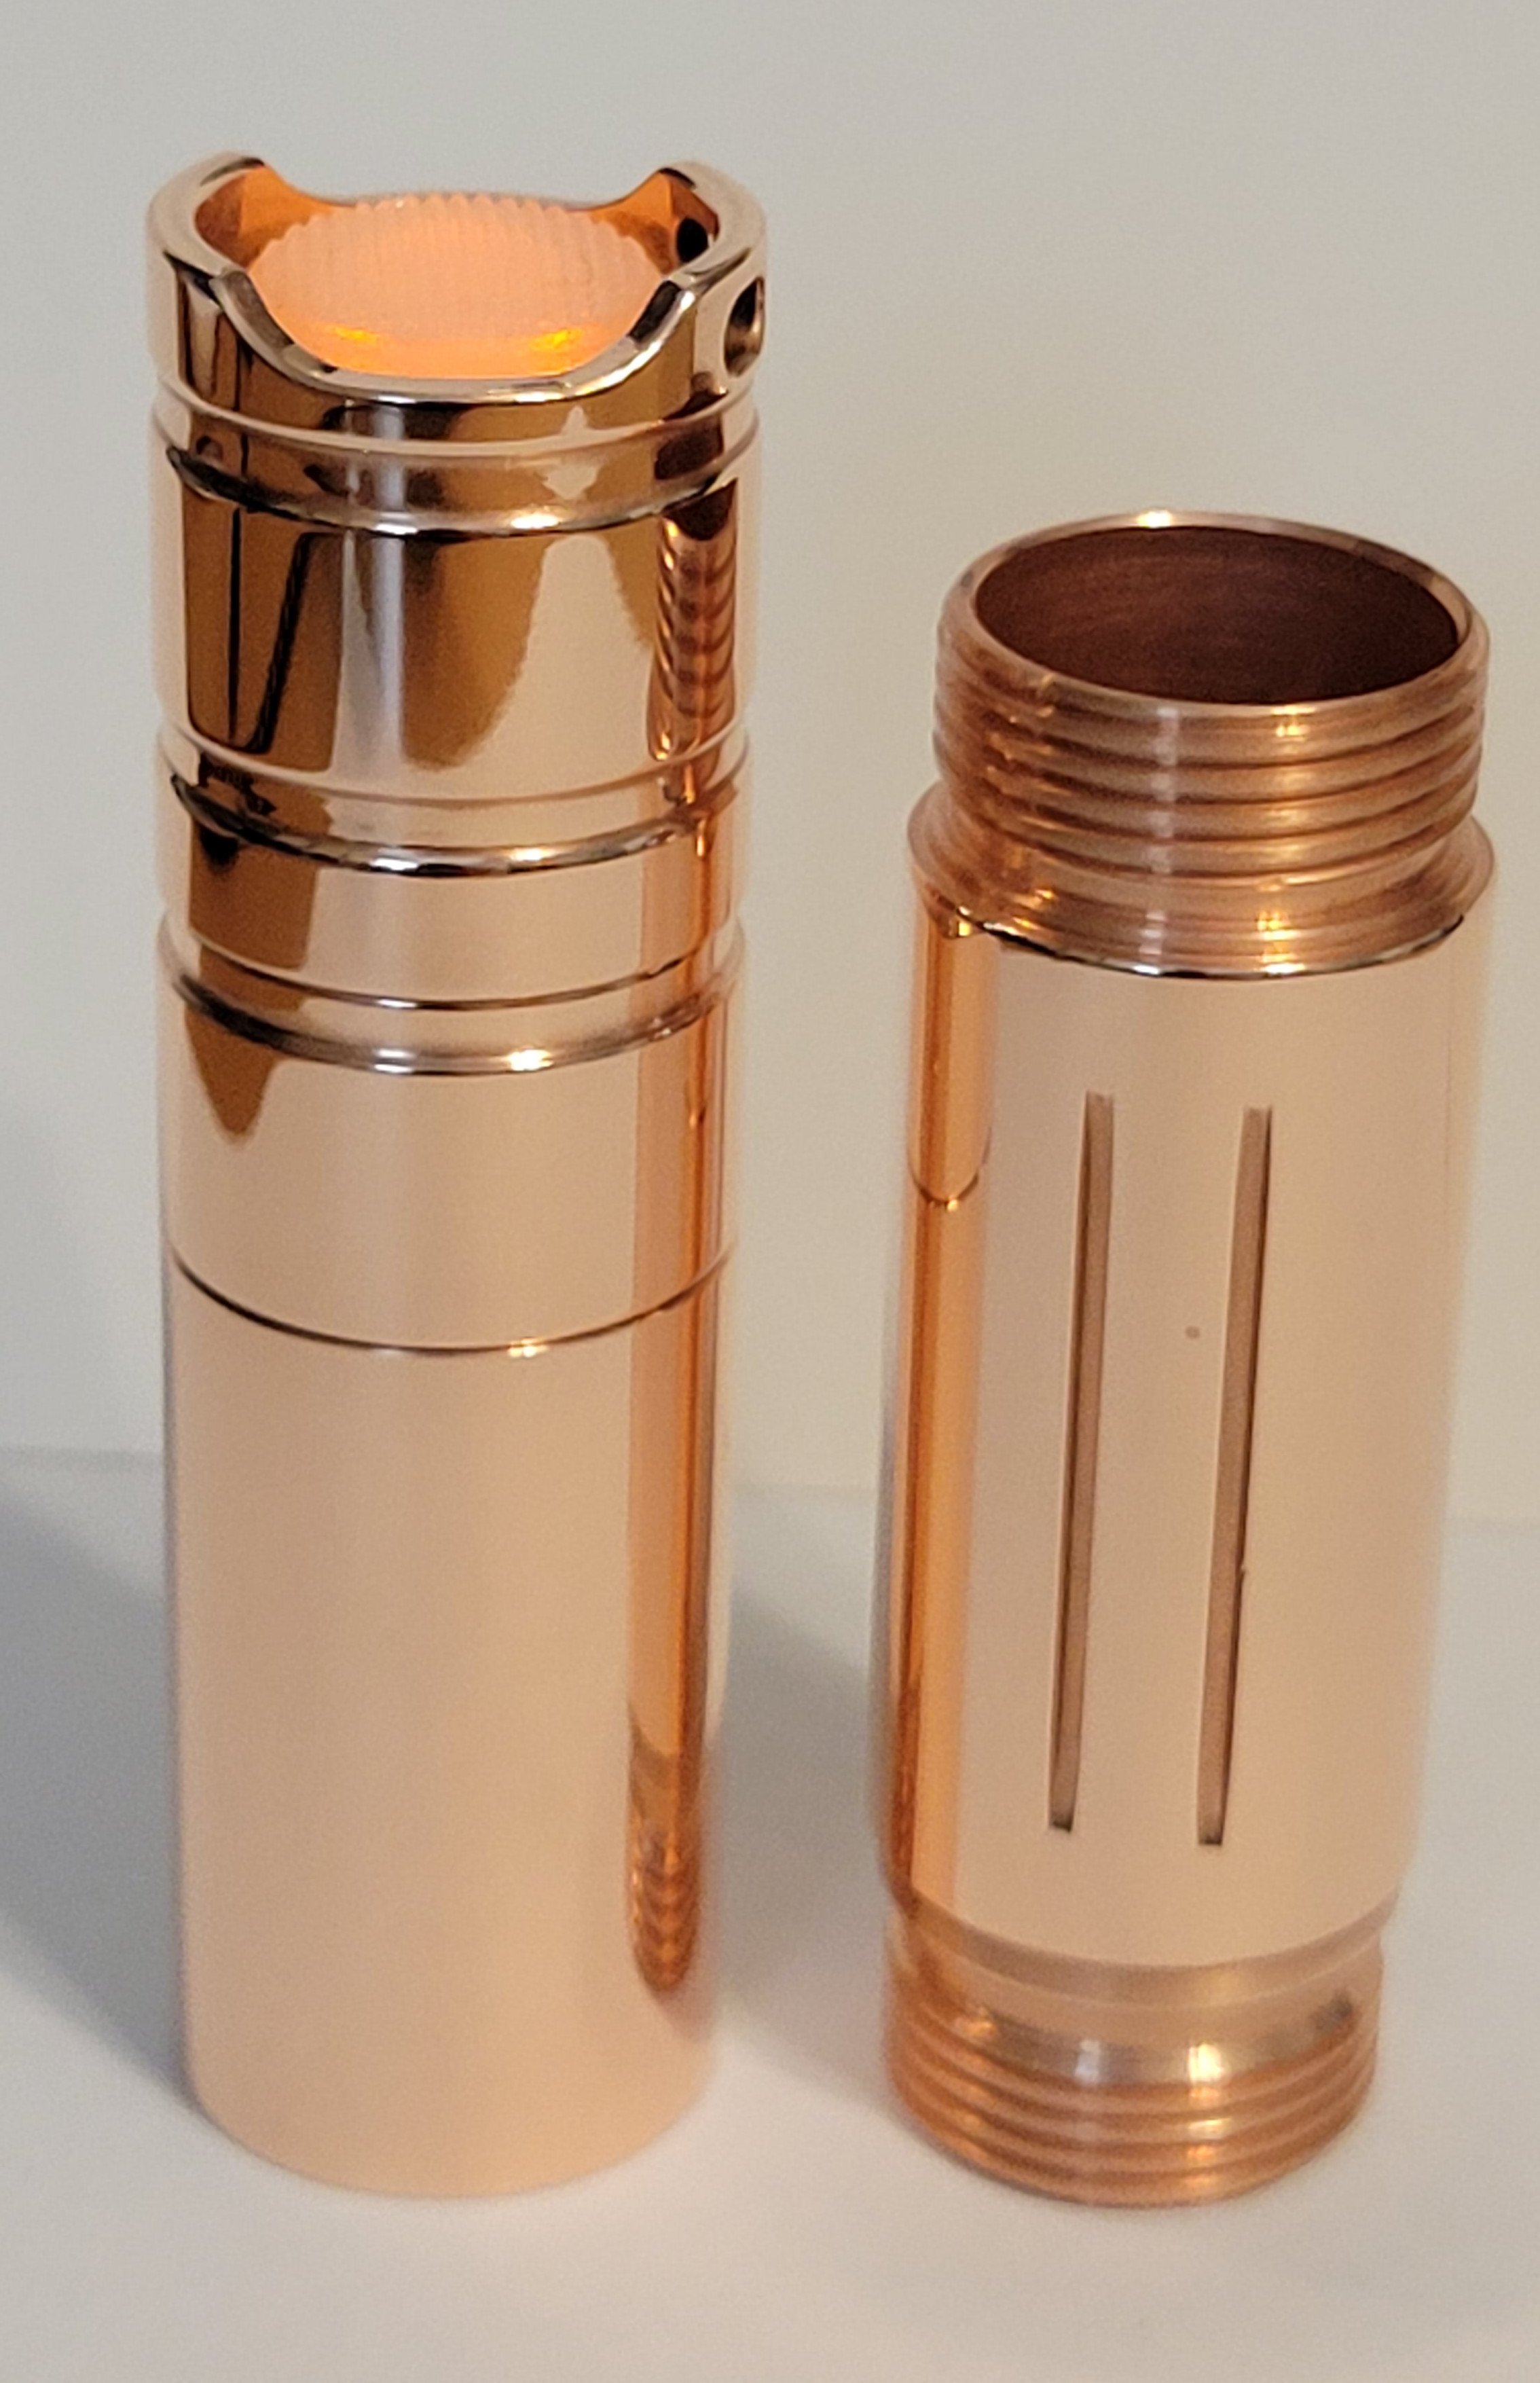
This is the polished 18650 tube next to the rest of the parts with the stock brushed finish for comparison.
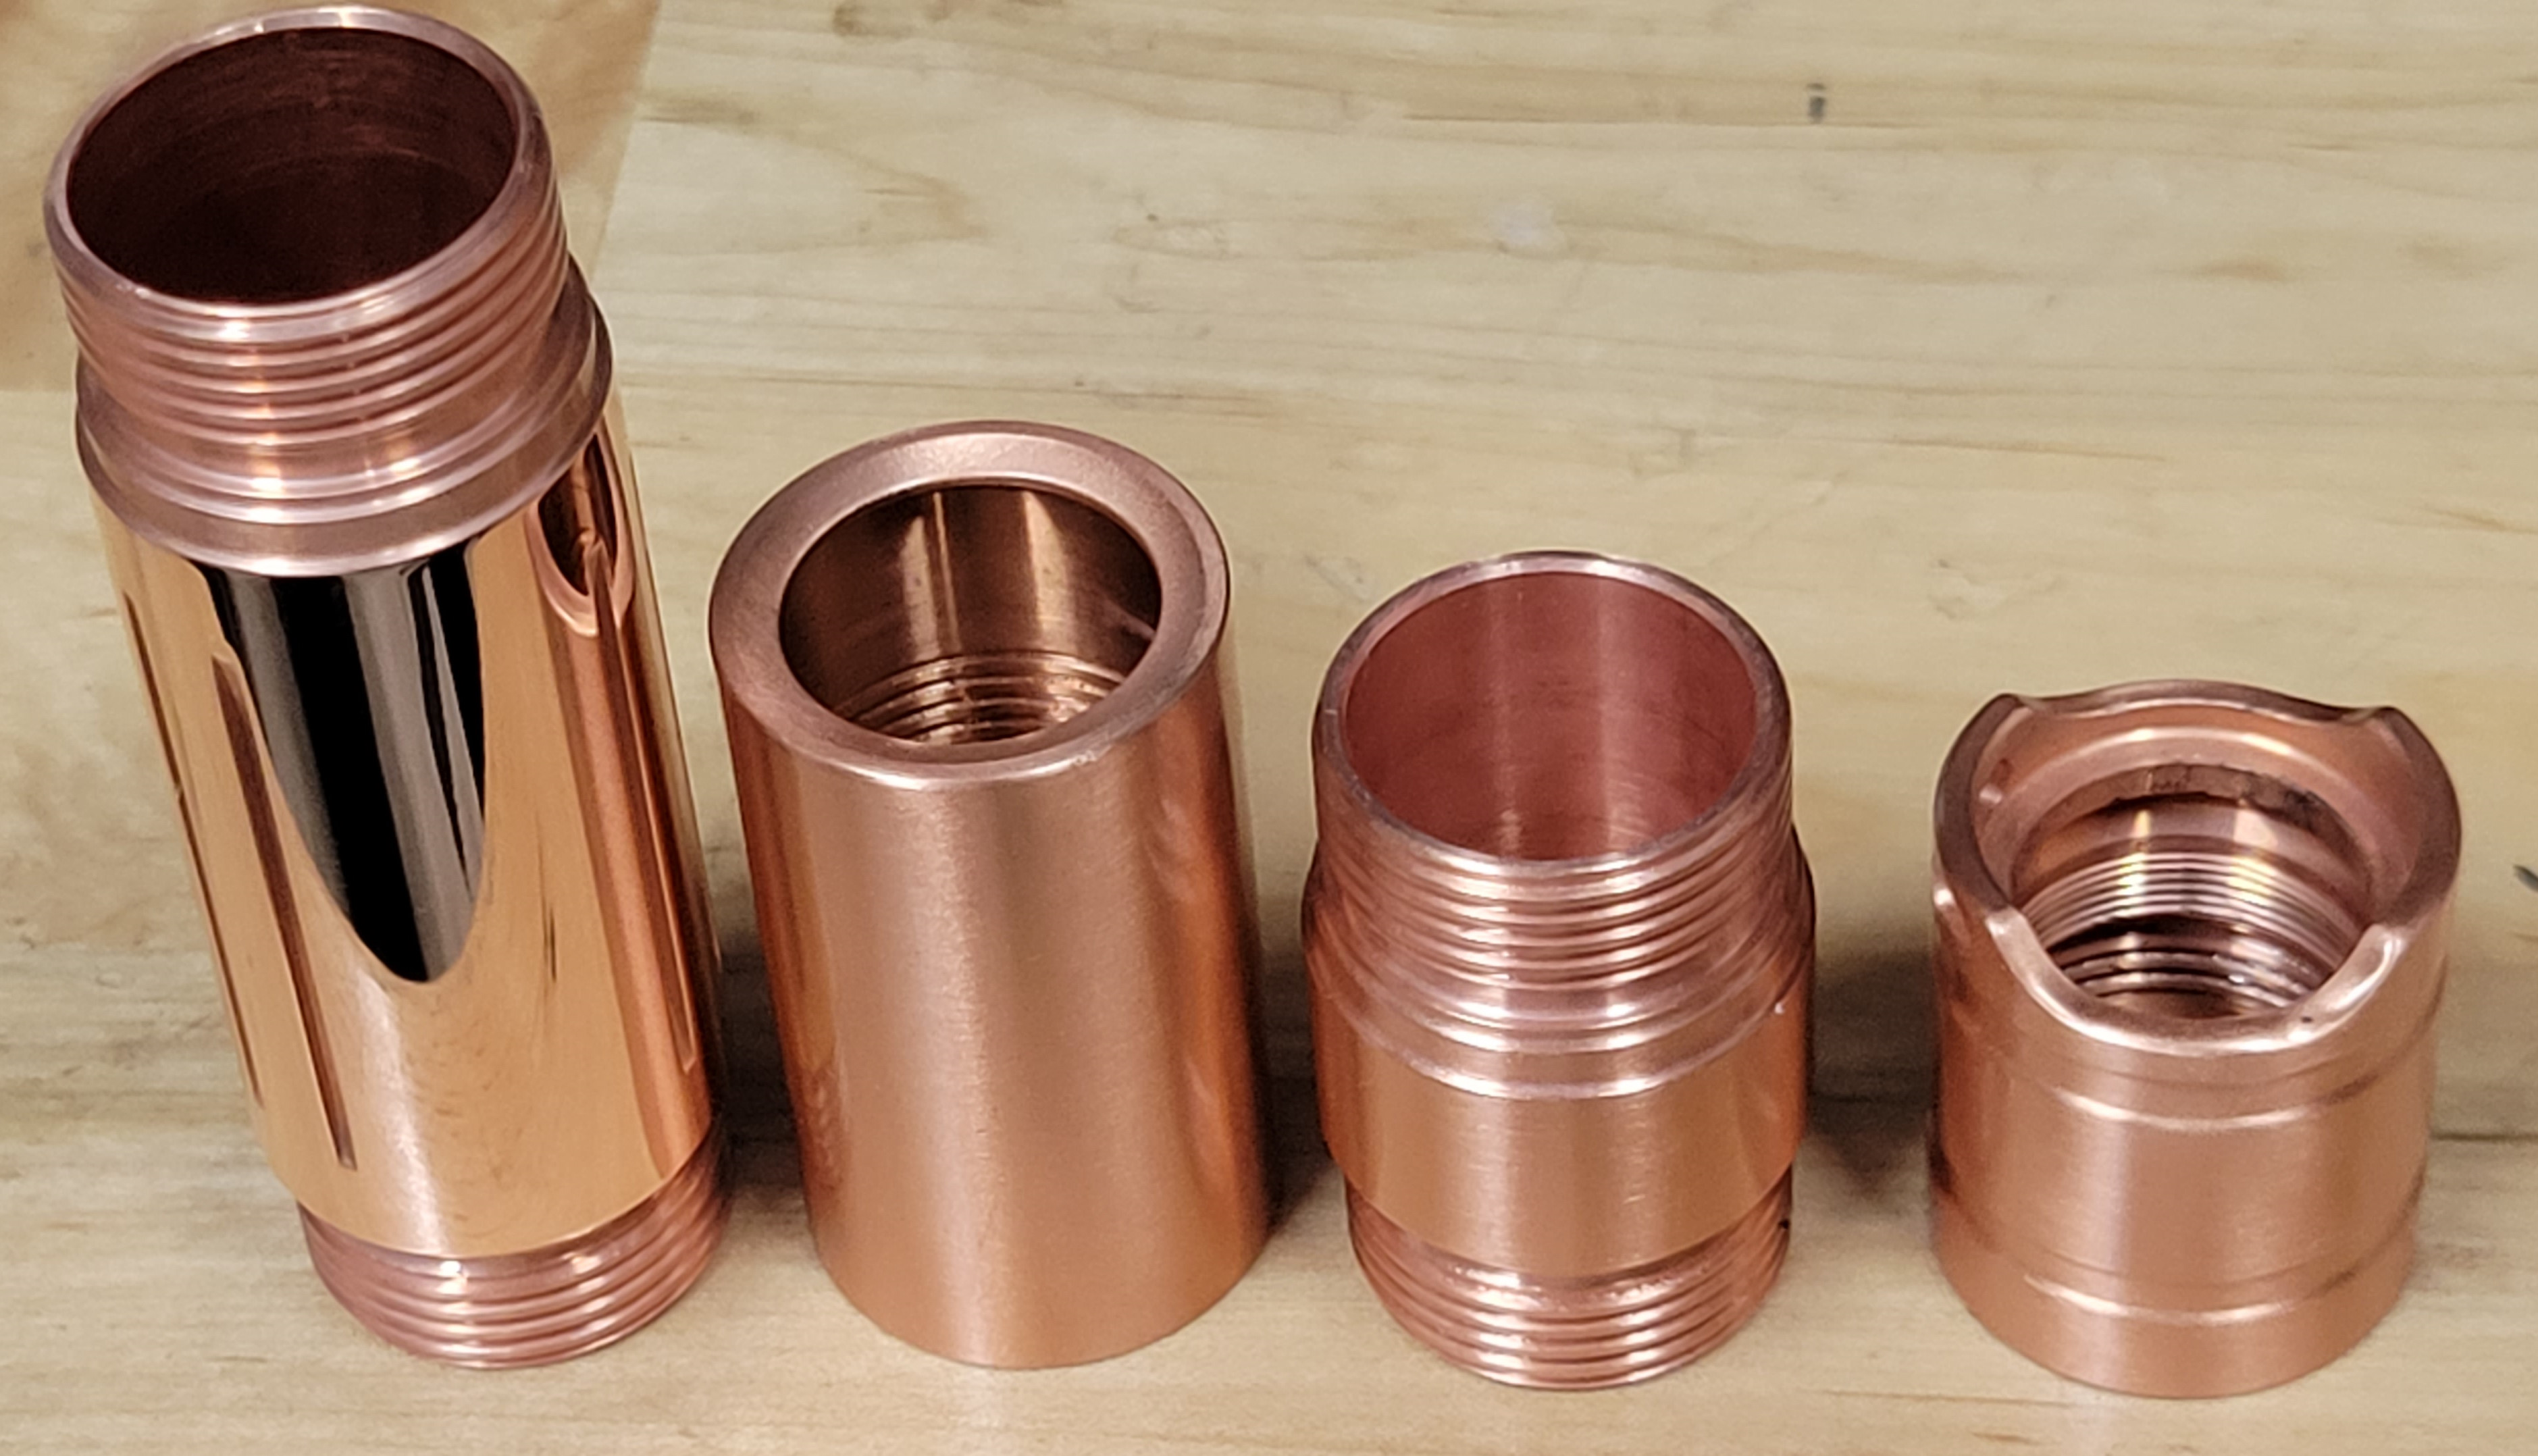
A little closer...
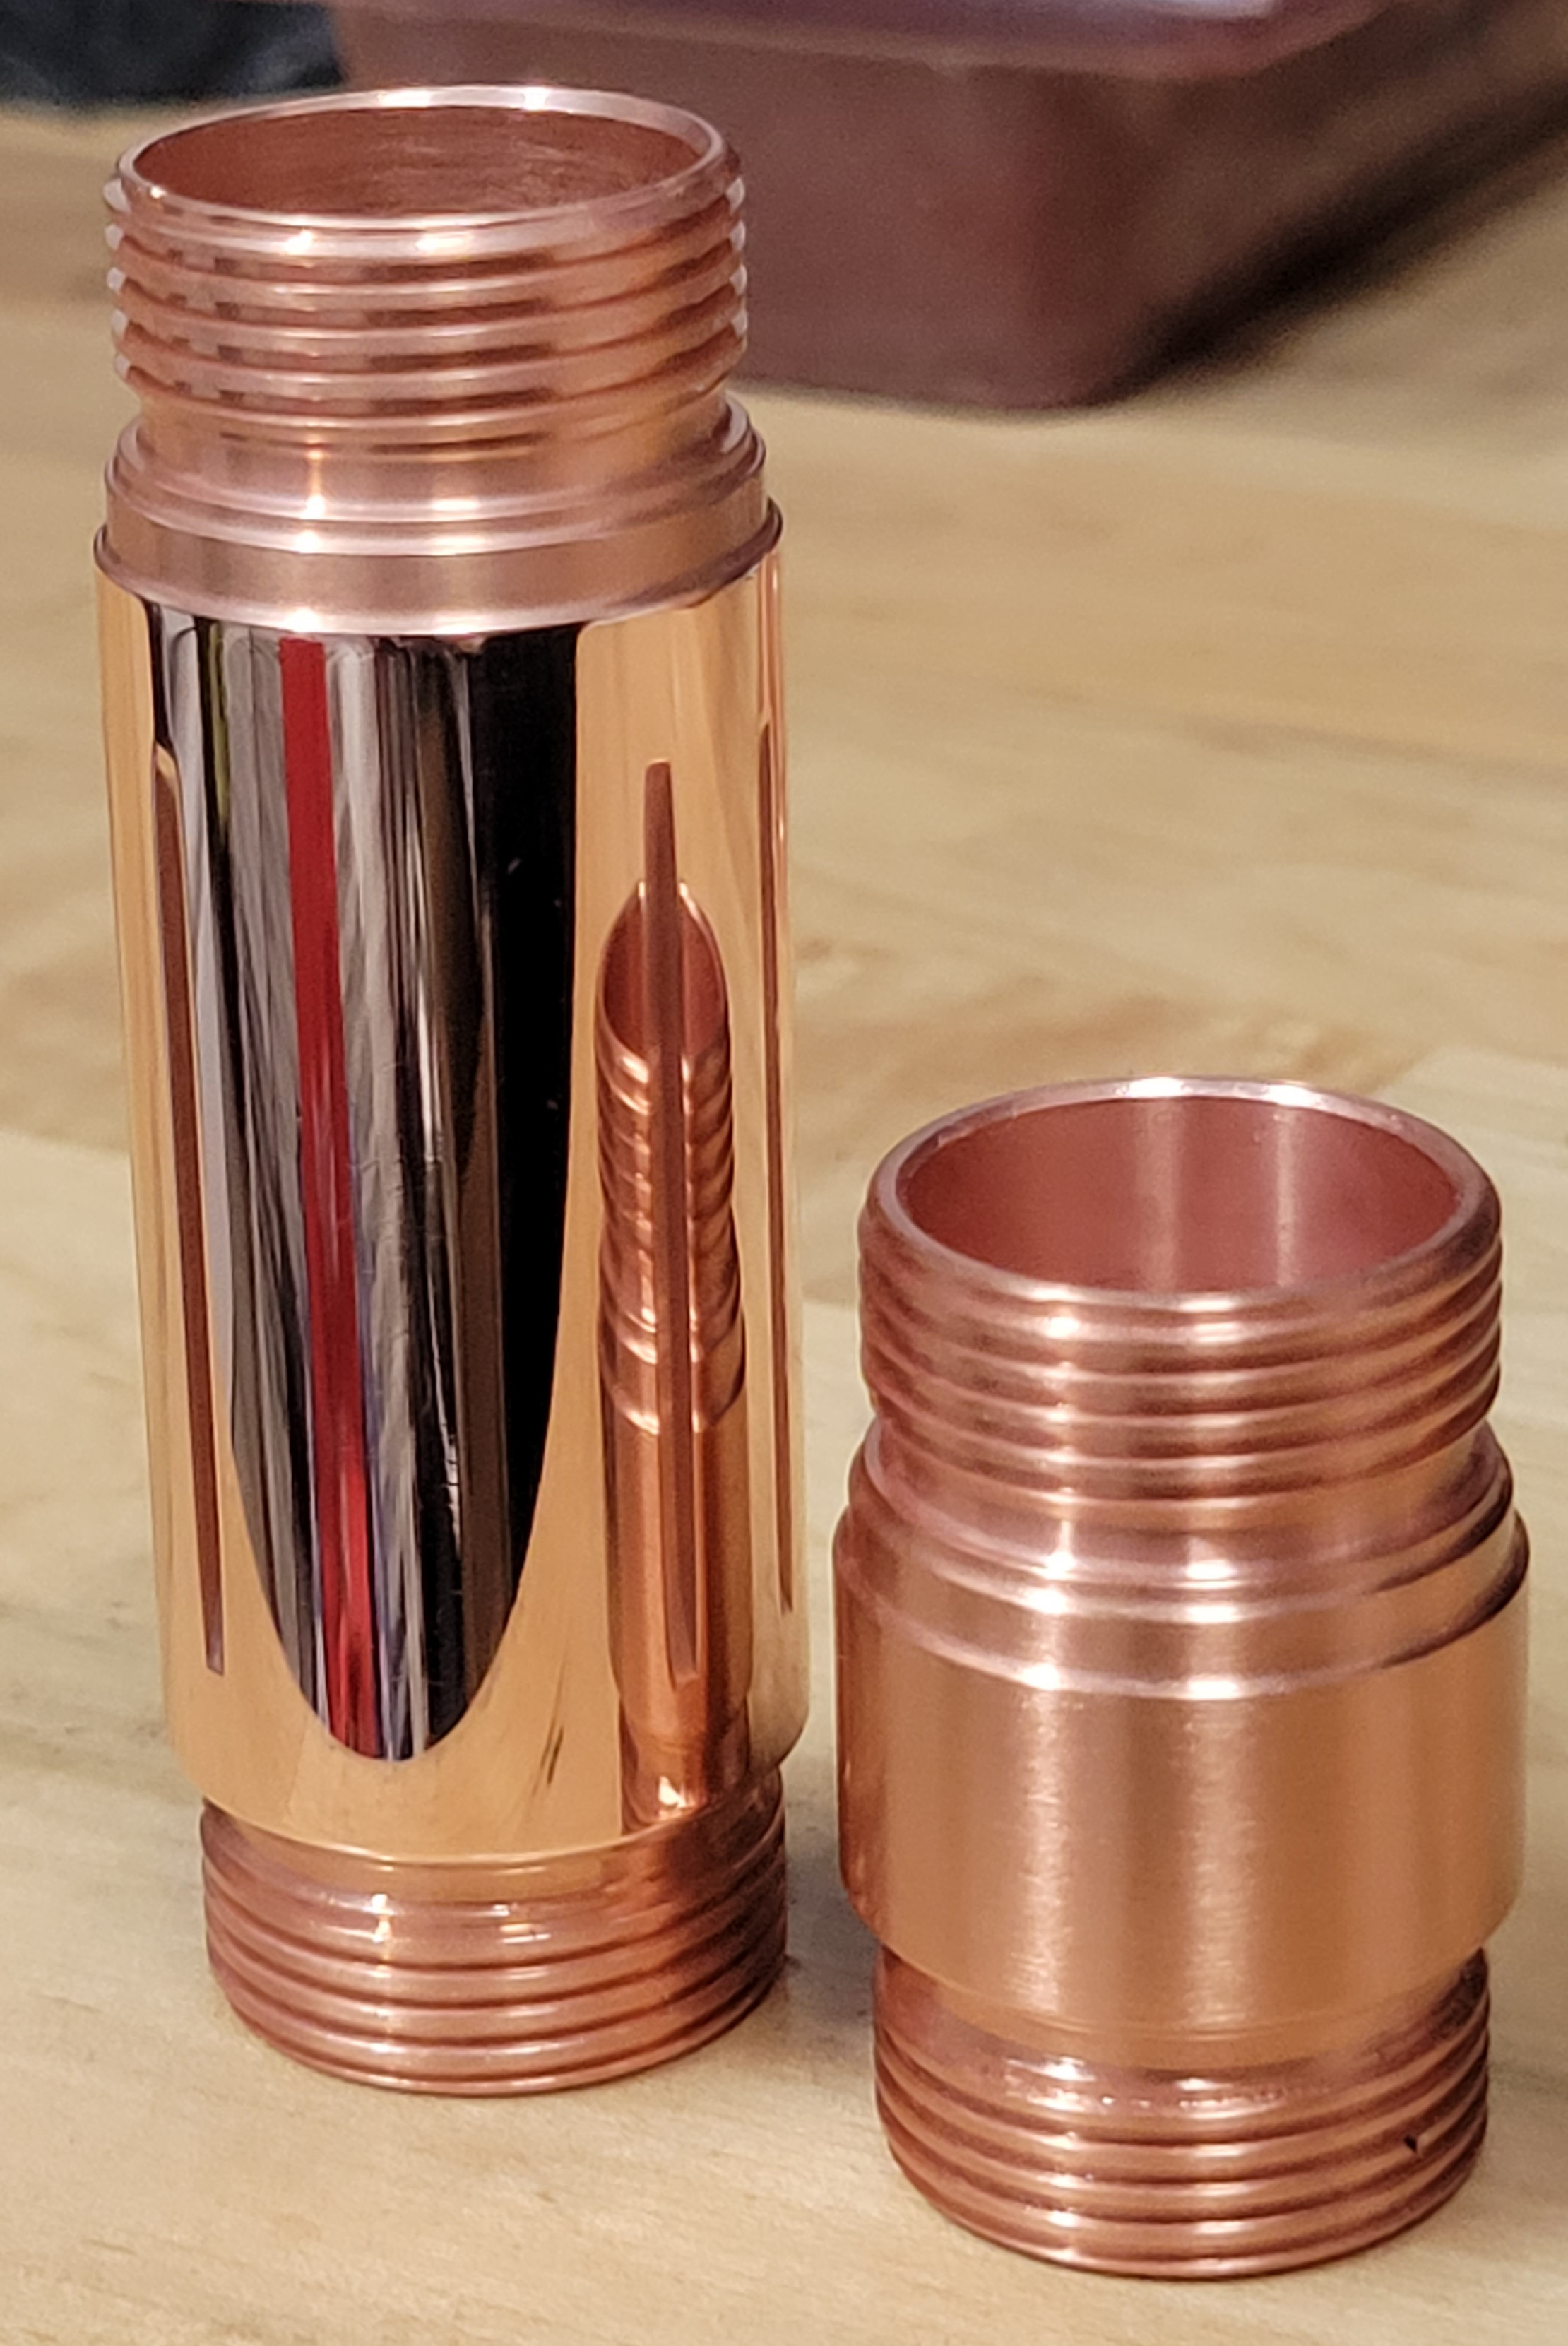
All the parts completely polished to a mirror finish...
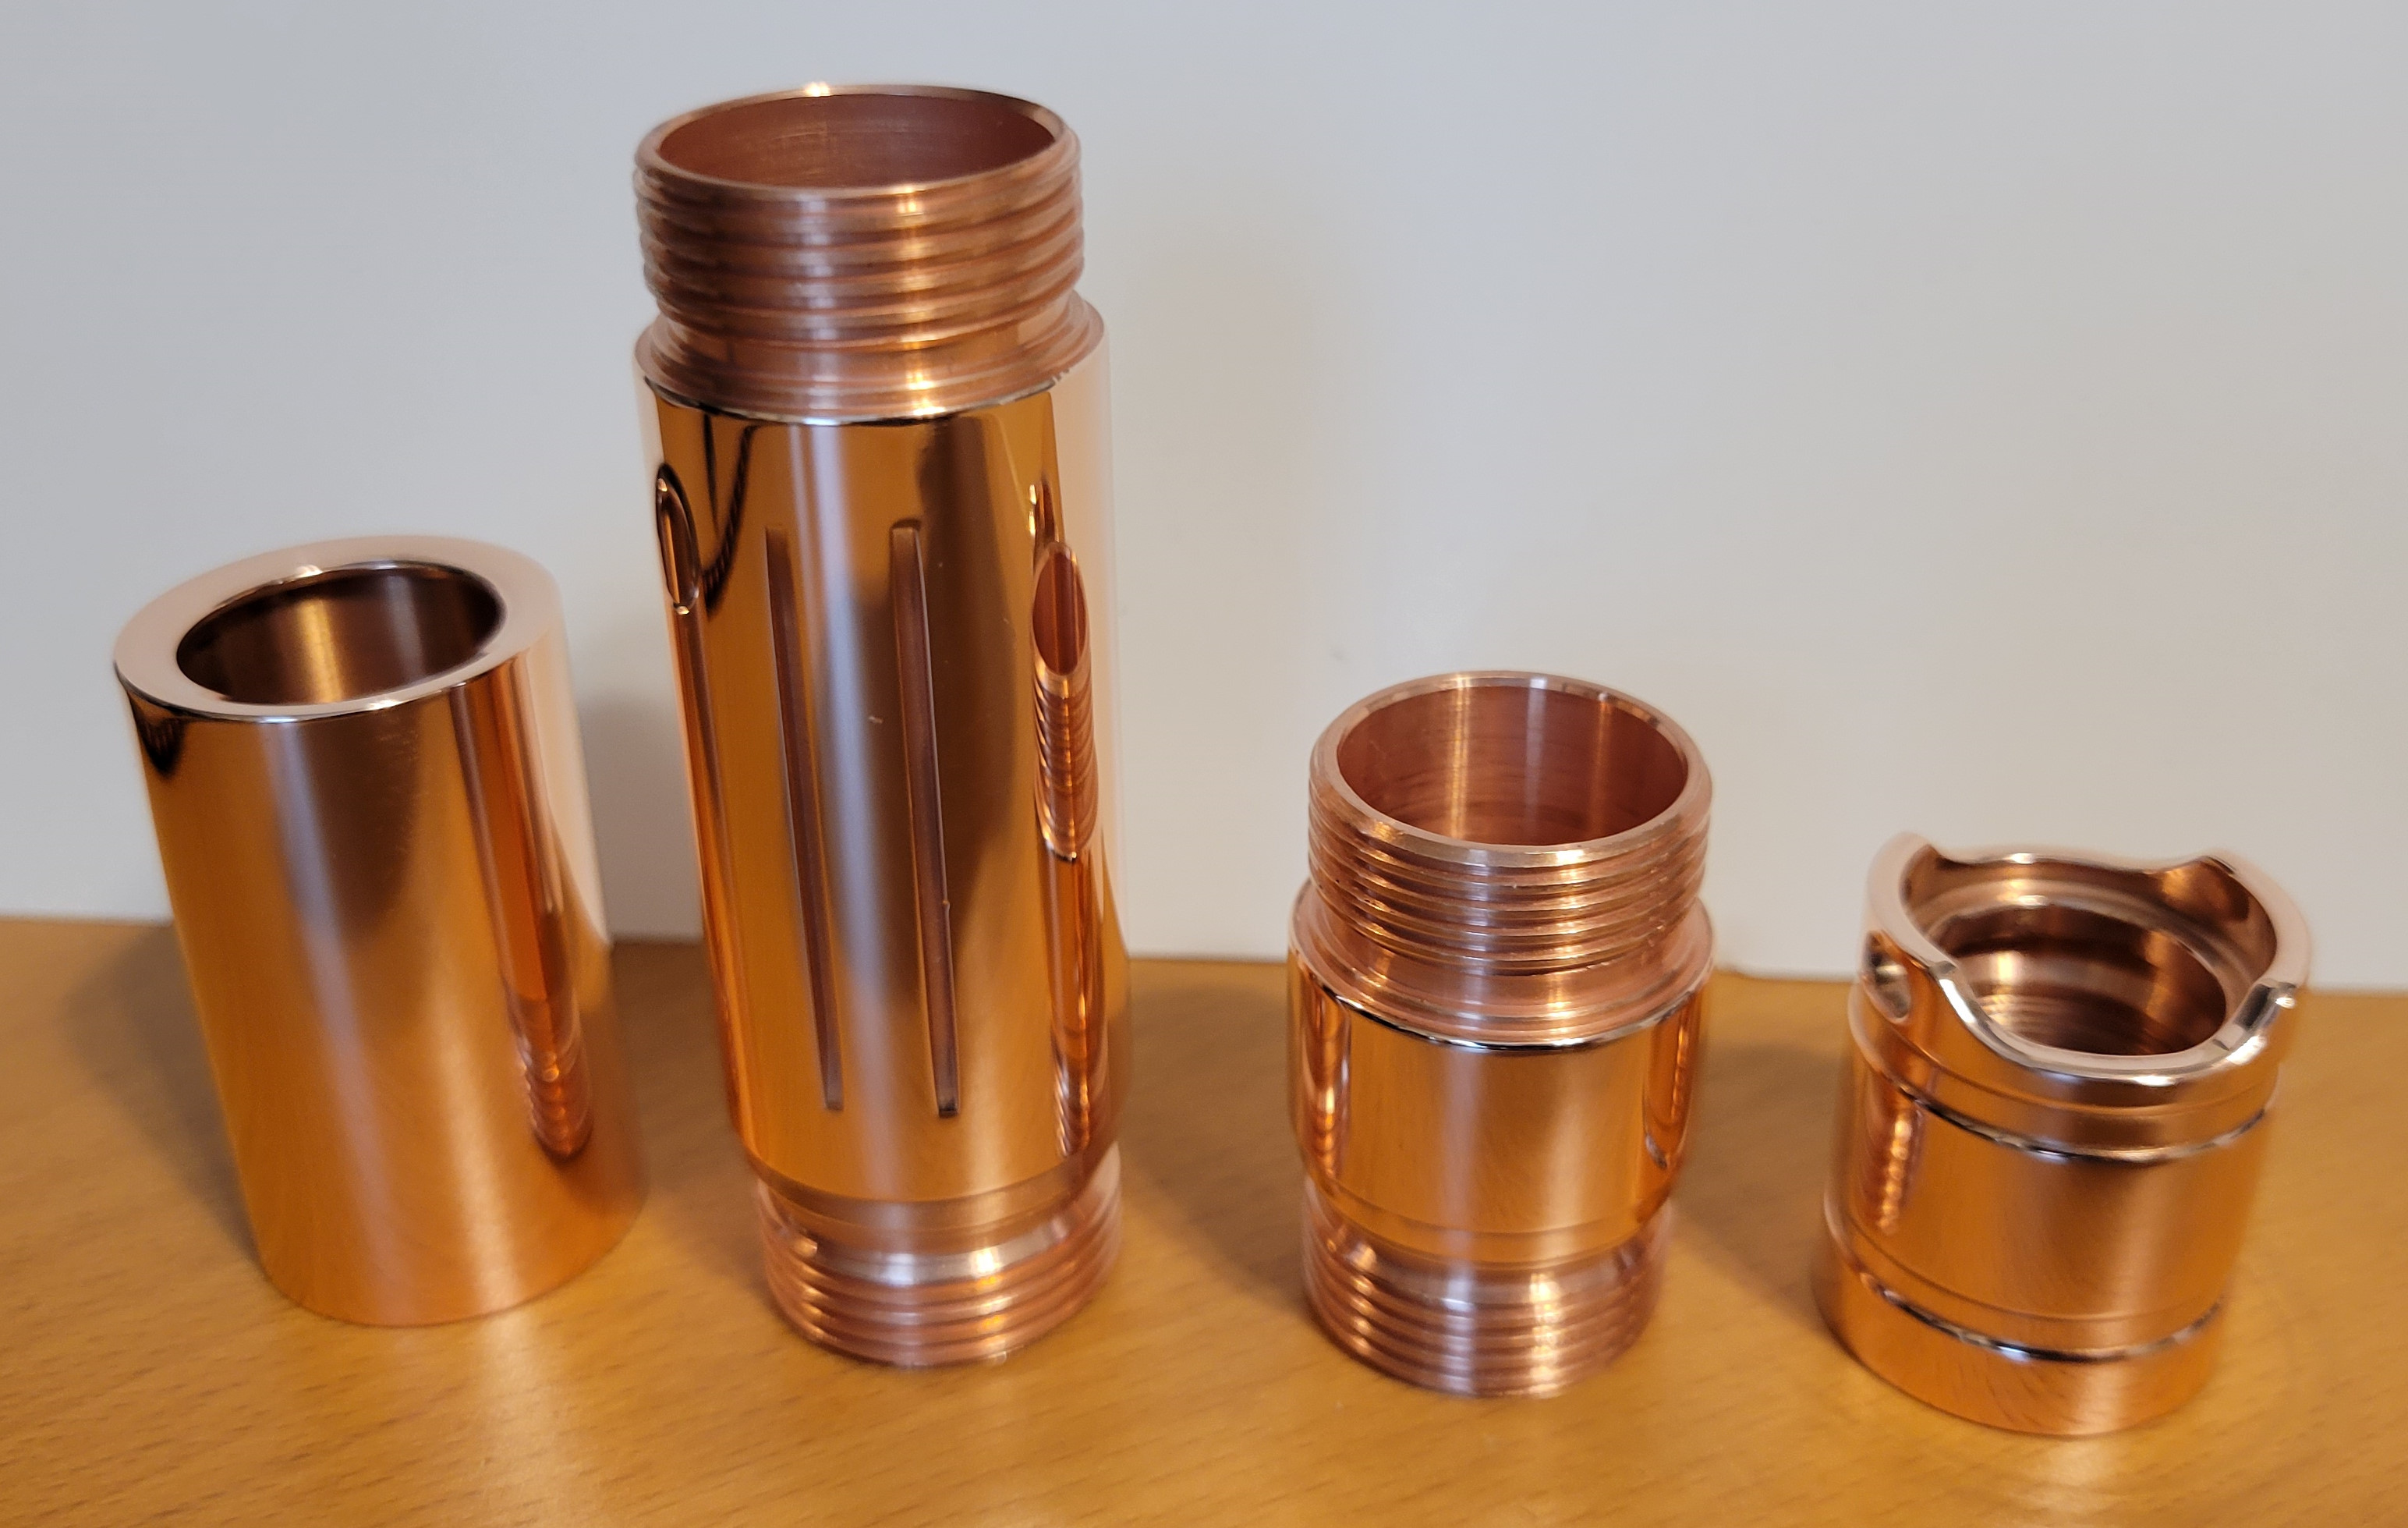
Some closeups of each part...


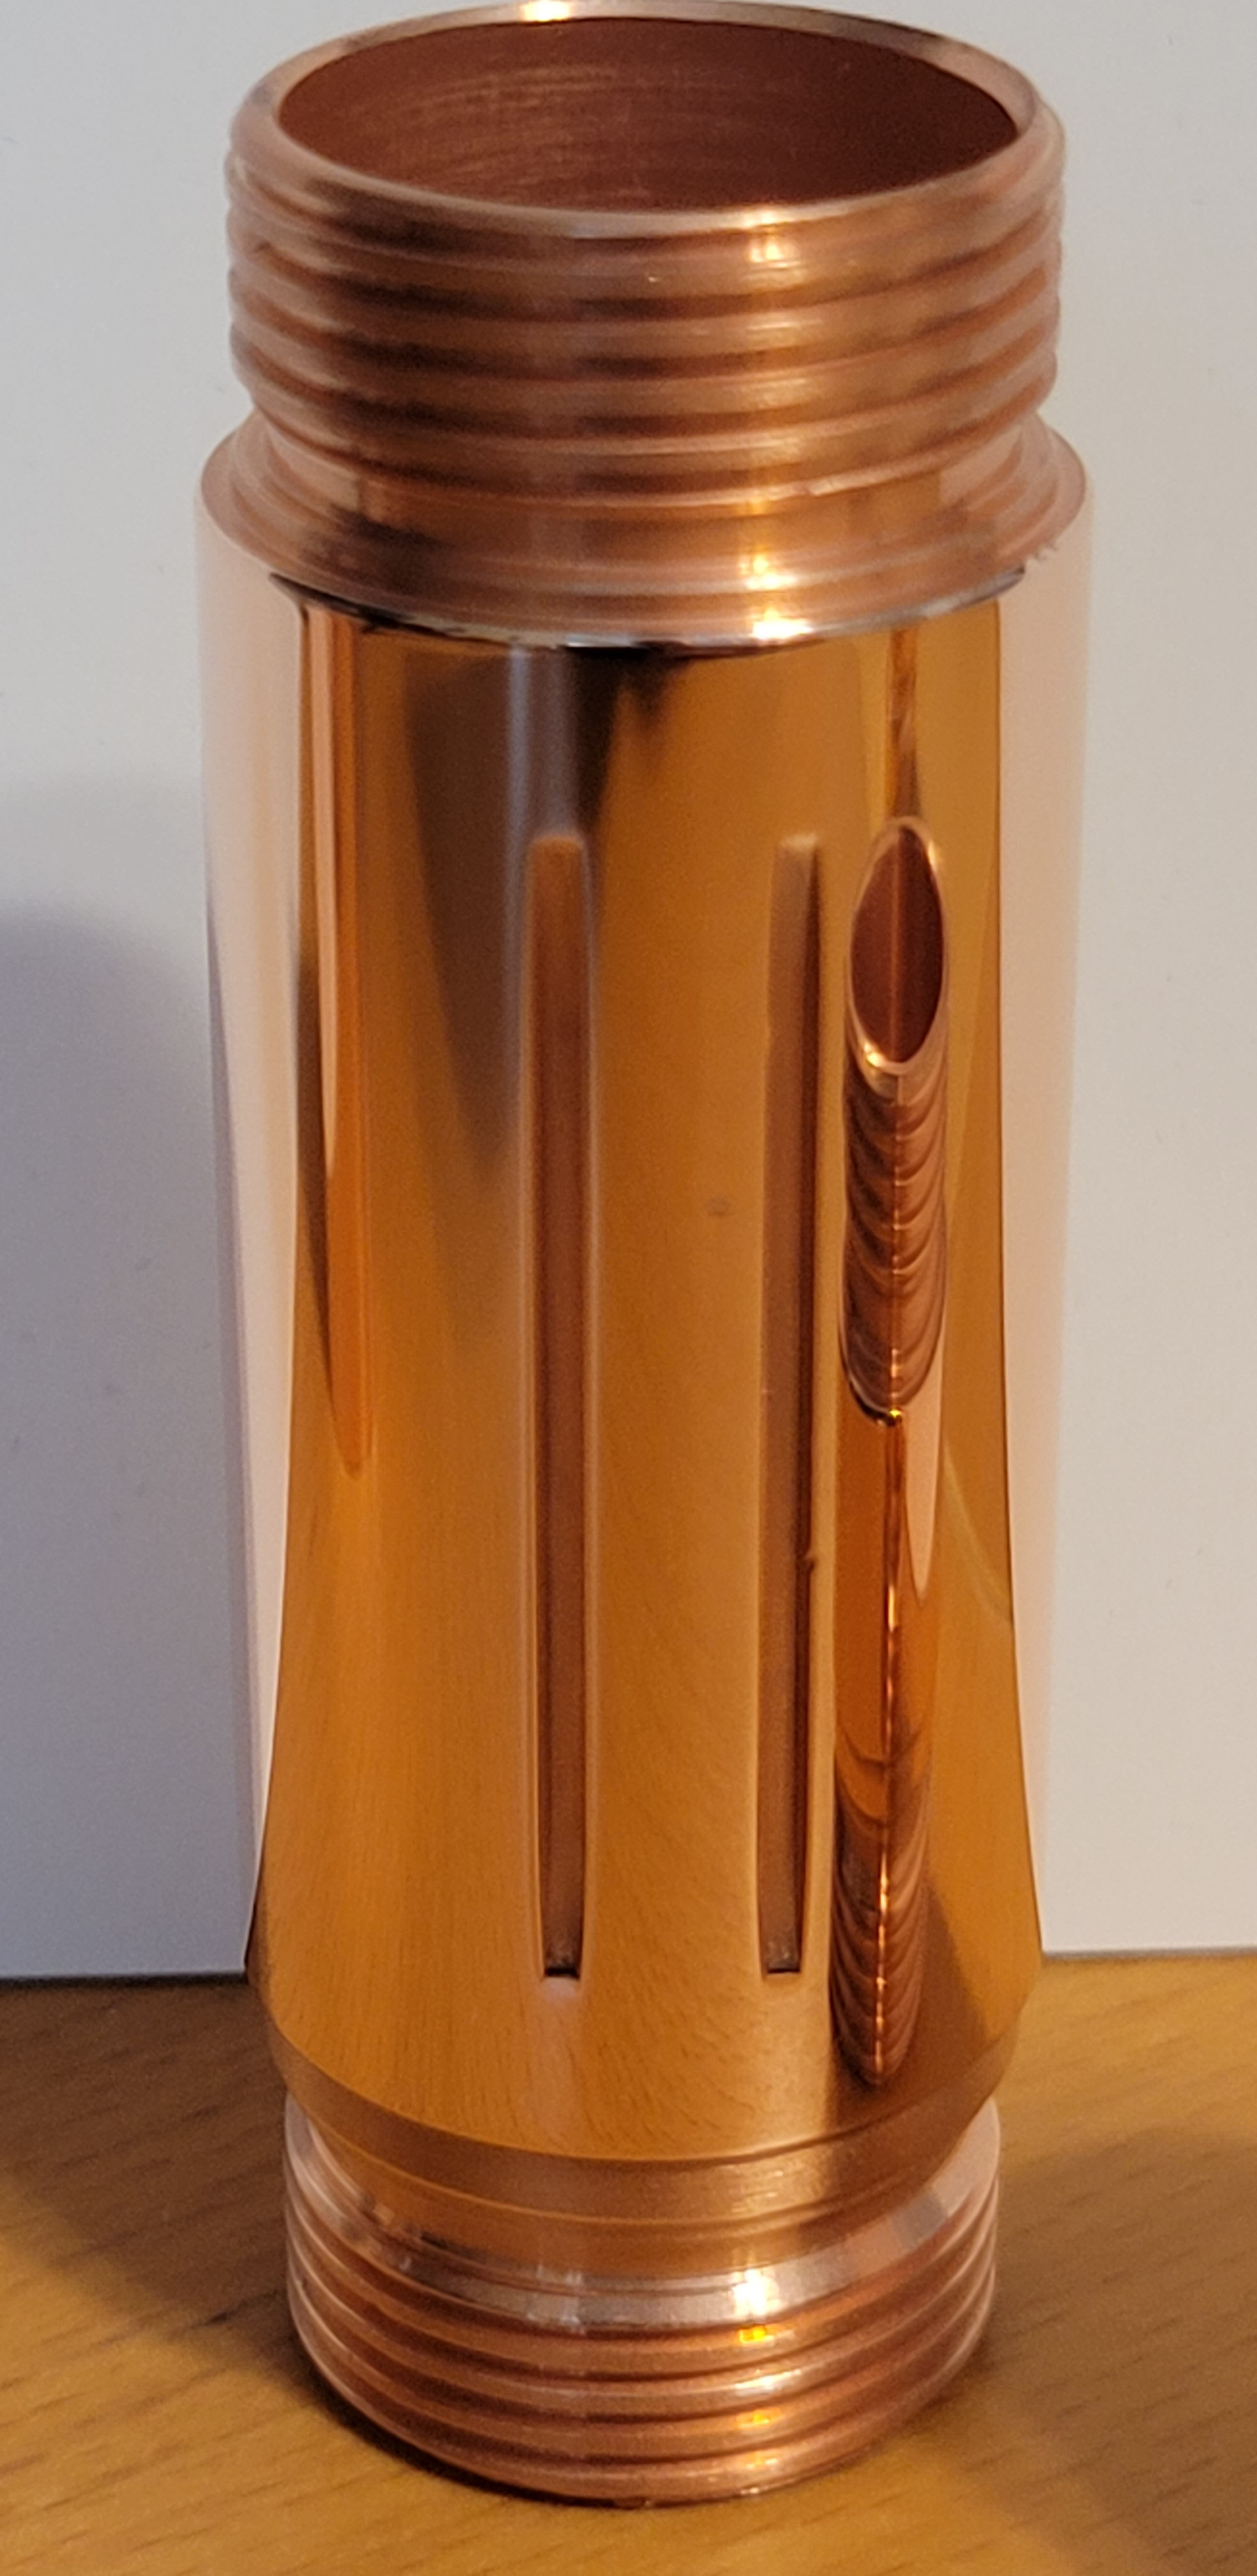
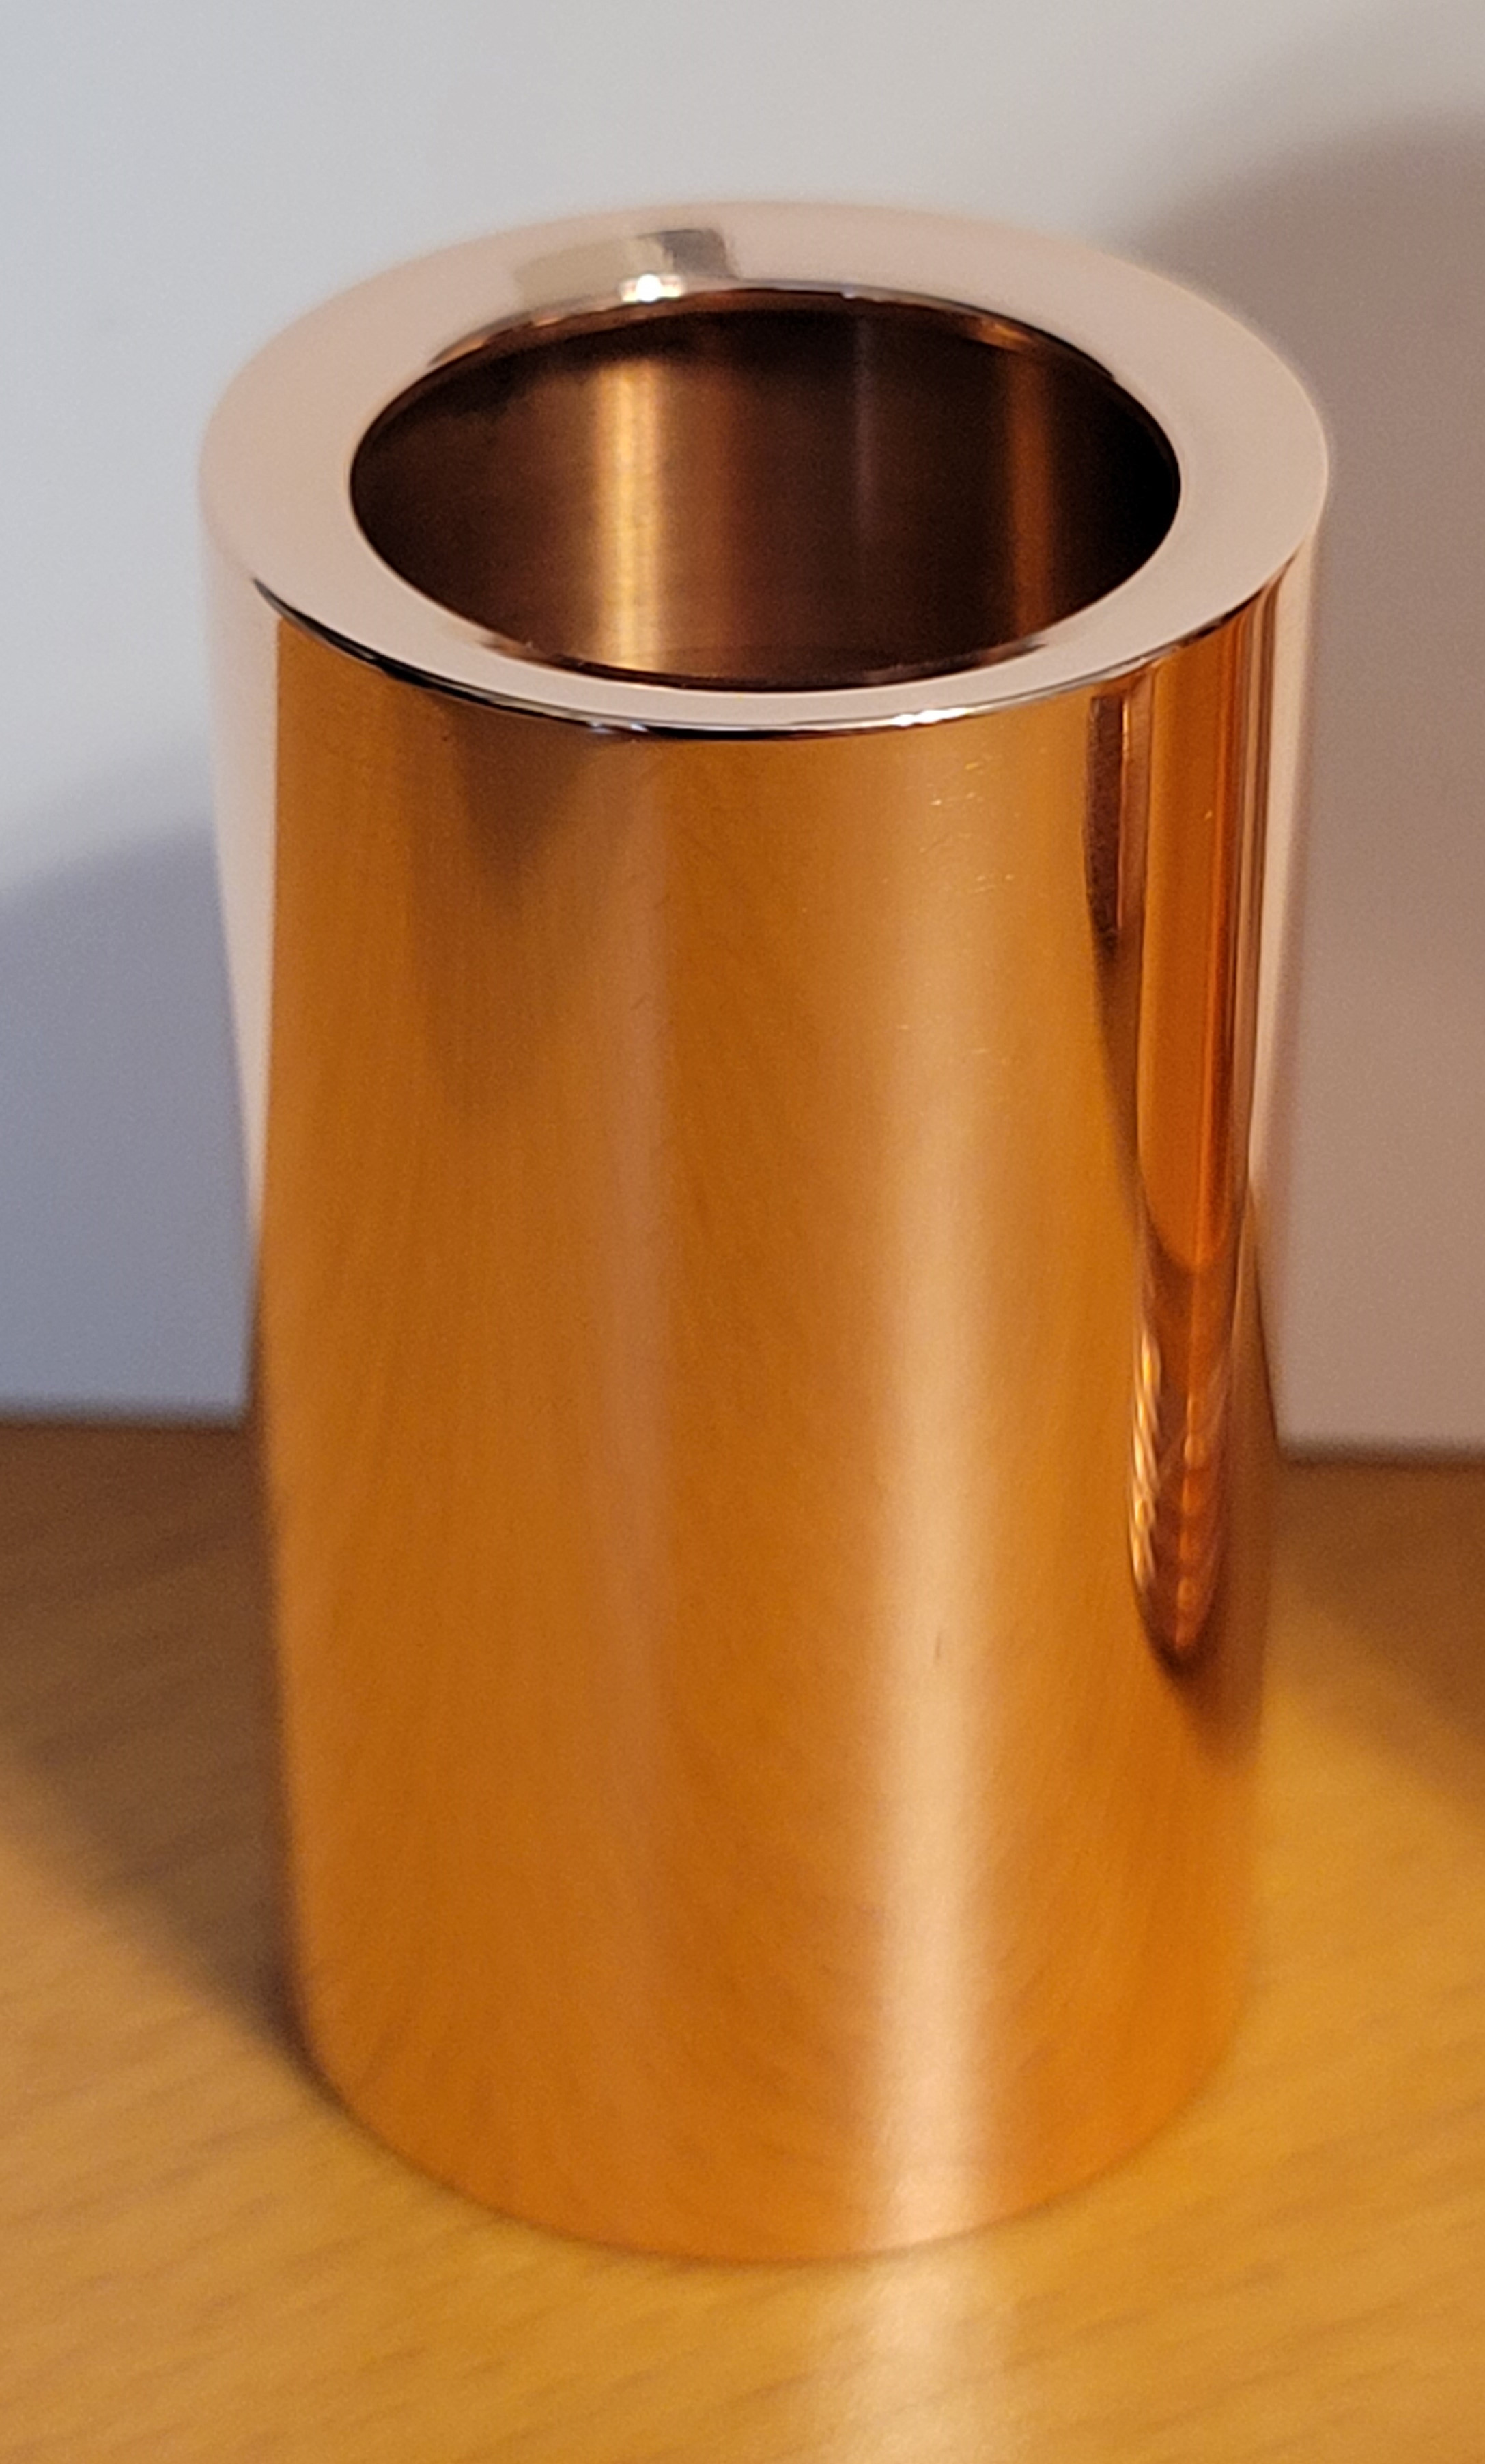
Just look at how the parts reflect the wood grain from my desk! I'm pretty happy with it.
Now let's take a look at the other internals for this particular light...
The DrJones H17Fx is a double-sided driver, so the standard S2+ retaining ring for the pill won't work unless you grind the inside out to make it thinner. Or, if you're fortunate enough, you use one of Kiriba-ru's thin retainer rings specifically for this purpose. See how nicely it fits over the 7135's?

The only issue with Kiriba-ru's thin retainer ring is that it's rather tall. The spring on an H17Fx is rather short. I had to solder a brass button to the top of the spring to ensure that the ring wouldn't hit the cell. I even managed to cram a bypass into the center of the spring. What a pain!
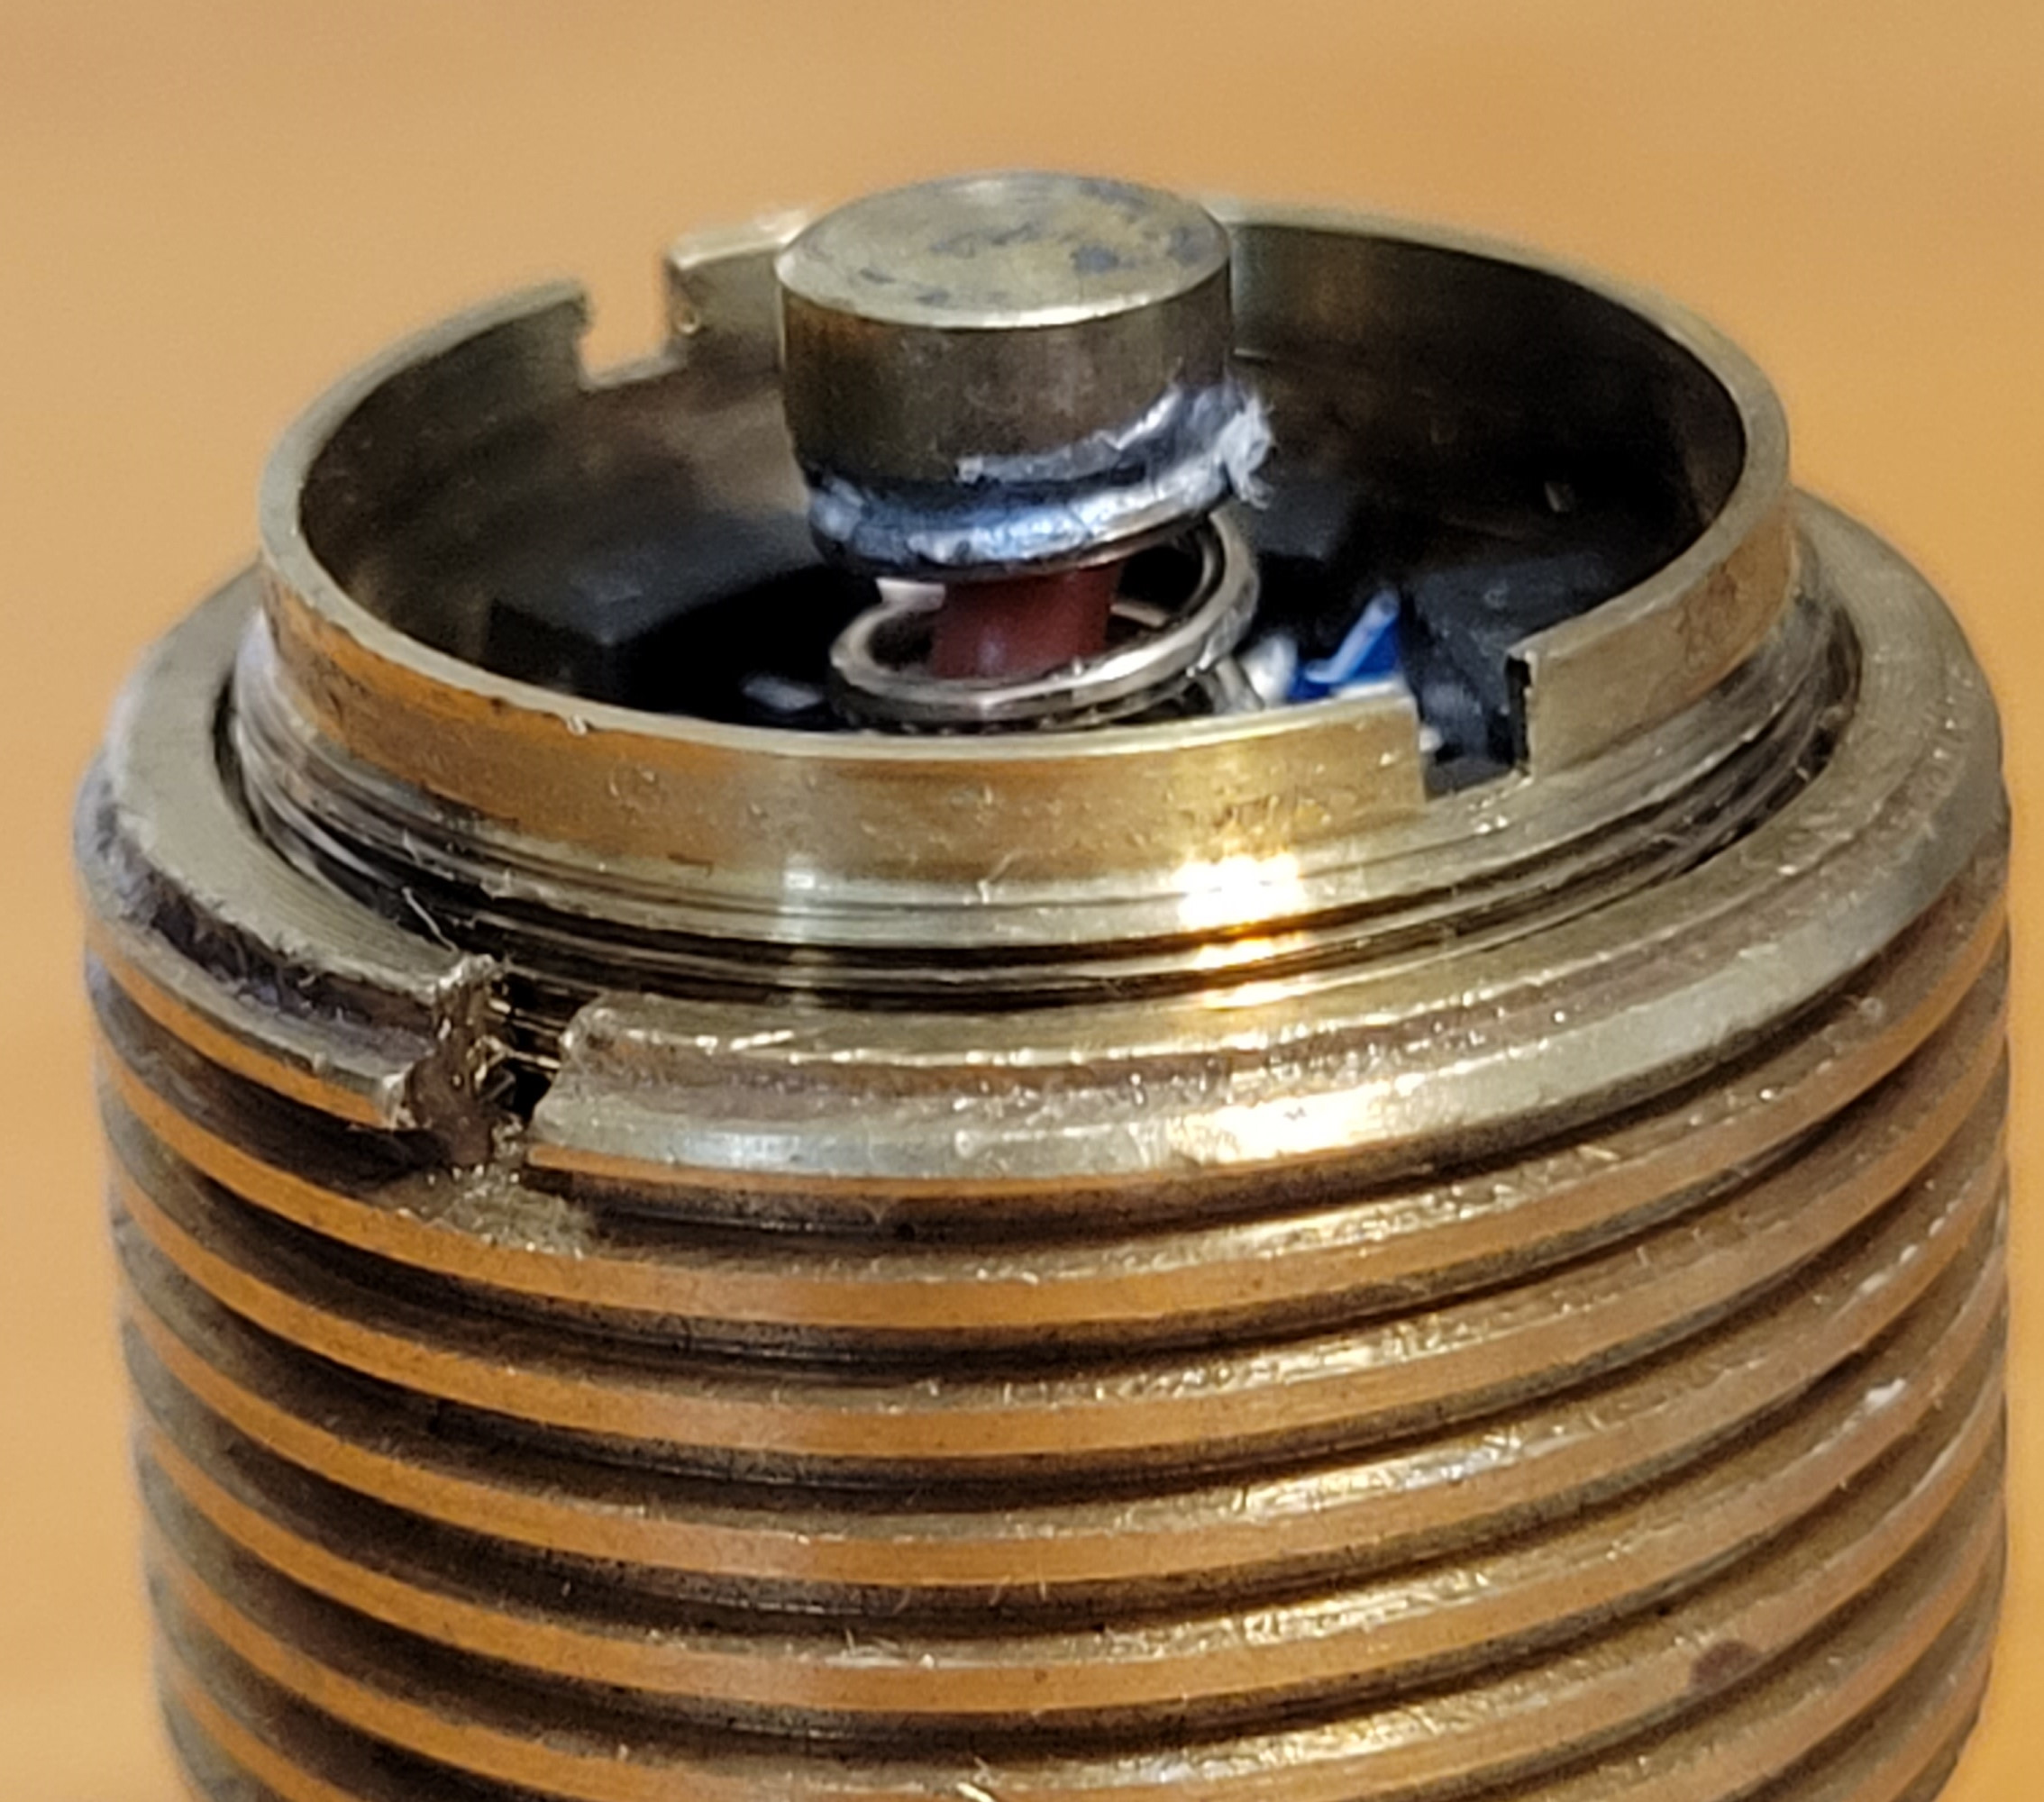
With the driver spring now being so tall, the tail spring was too long. When I screwed the light together, the driver didn't work properly. Too much pressure. So I did an absolute Frankenstein job on the tail to add a brass button and a small copper spacer that I crudely cut from a blank.
Yeah, it's really ugly, but it works. You know what's amazing? I somehow didn't melt the switch during all of this.
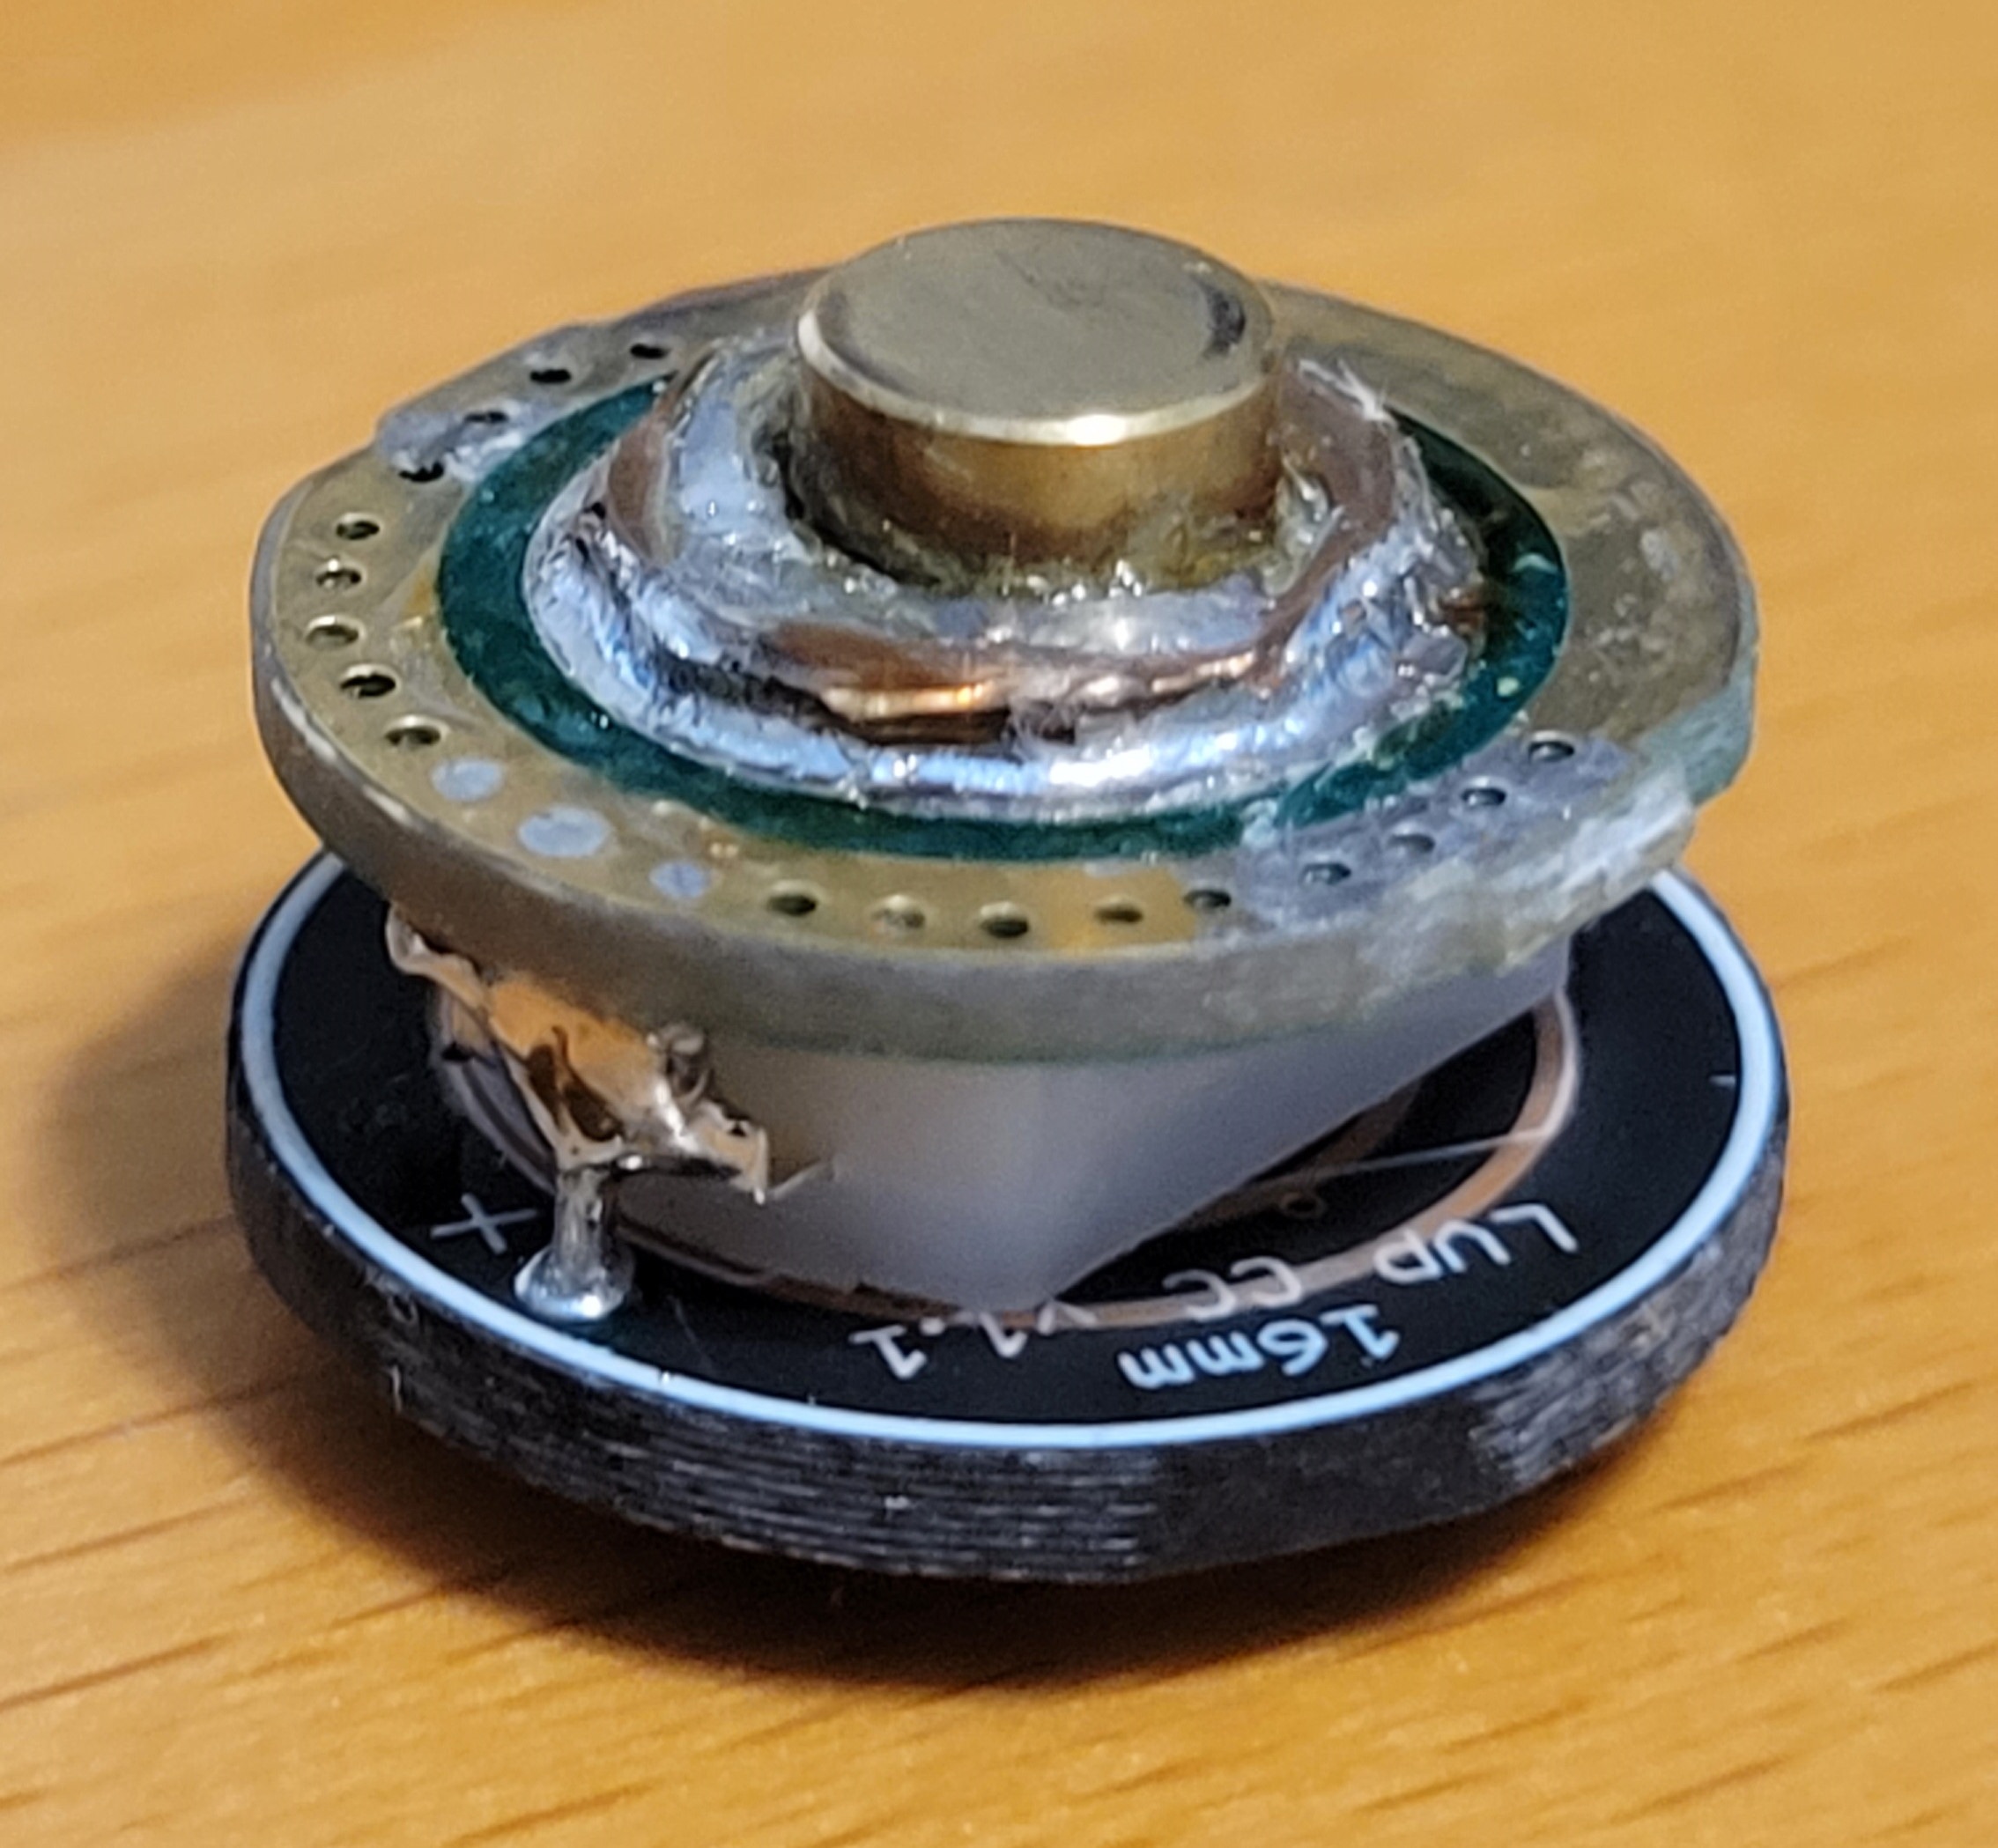
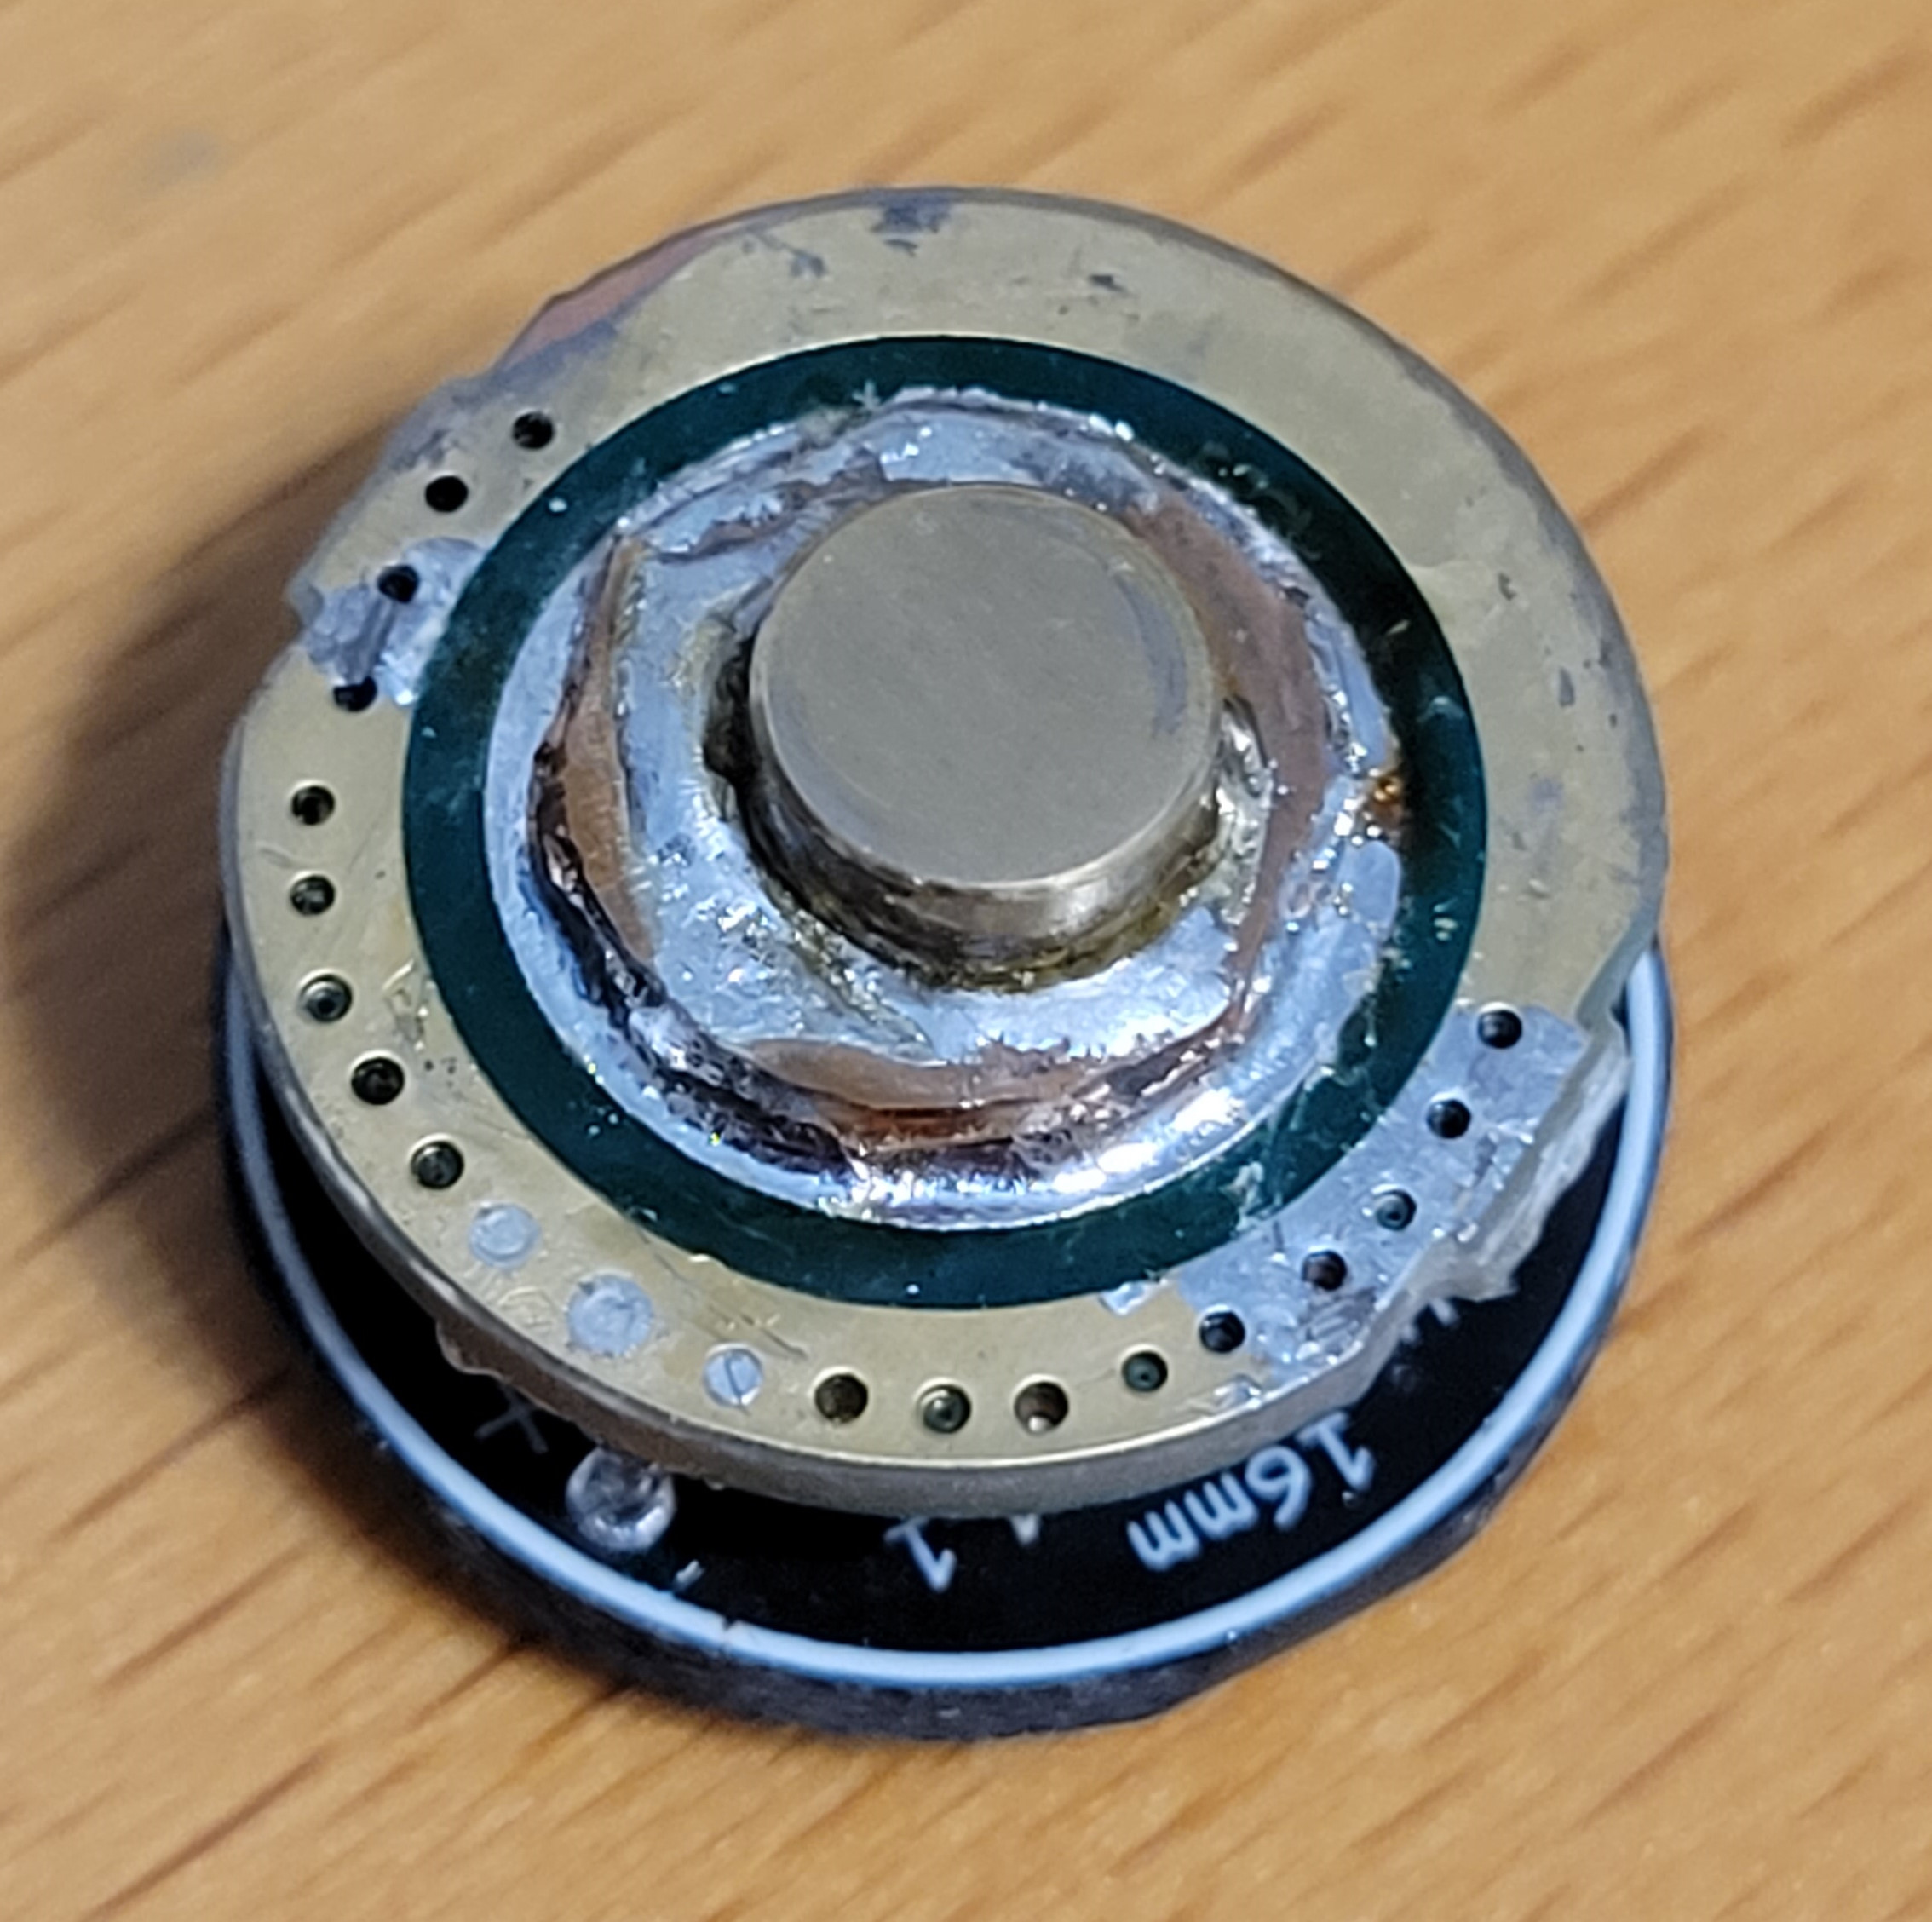
The gChart LVP CC is much nicer to look at than my hack job on the tail spring.
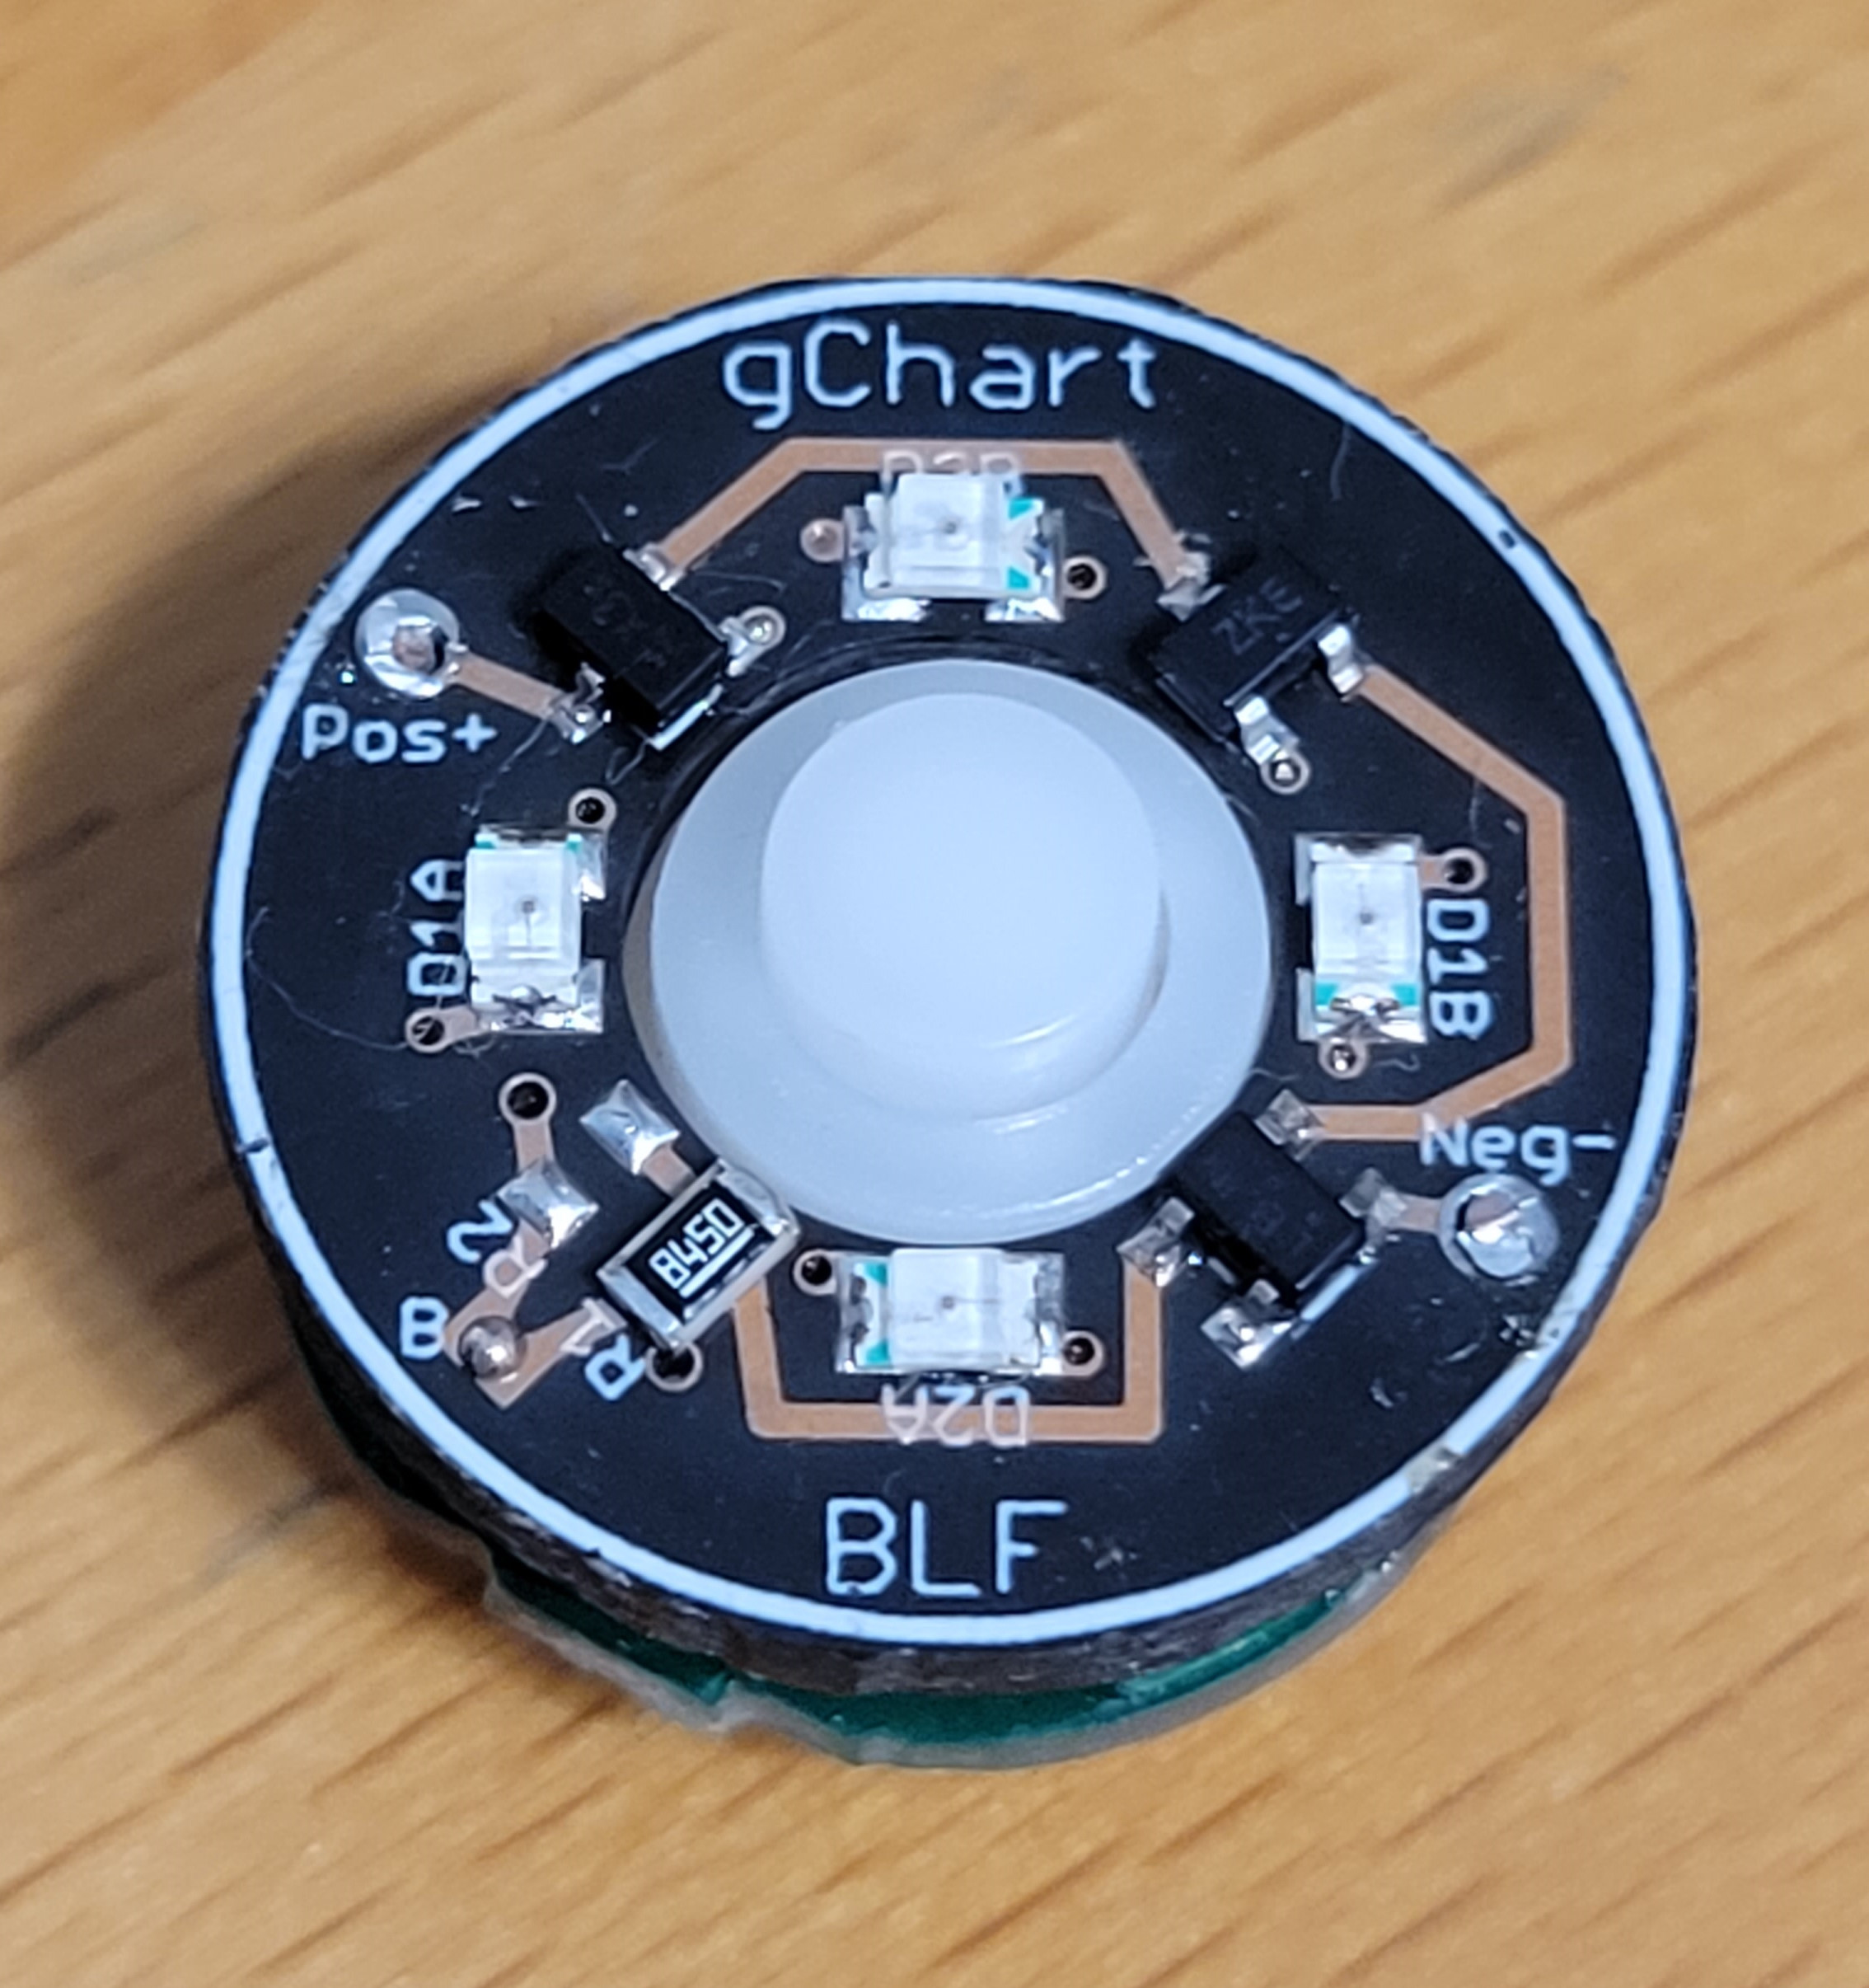
You can find more detailed information about it in gChart's original thread on BLF. Here's what it looks like installed...

And here's a shot of the beautiful, warm 519A 2700K's on moonlight...
And finally, the finished product...

If you have any questions at all about this build, please post them. I'll try to respond as soon as I can. Thanks for reading.

If you're new to Anduril, you might find my diagrams useful. https://lemmy.world/post/1038159 The TS10 is a great little light, and can be easily updated since the driver has flashing pads.